Después de las dos Stem Bags y viendo que aún había material reciclable por casa, tenía la confianza suficiente en mis niveles de costura para meterle mano a una idea algo más complicada: una Frame Bag para mi bici.
After two Stem Bags, and seeing that I had still recyclable material at home, I was confident enough on my sewing skills to attack a more complex idea: a Frame Bag for my bike.
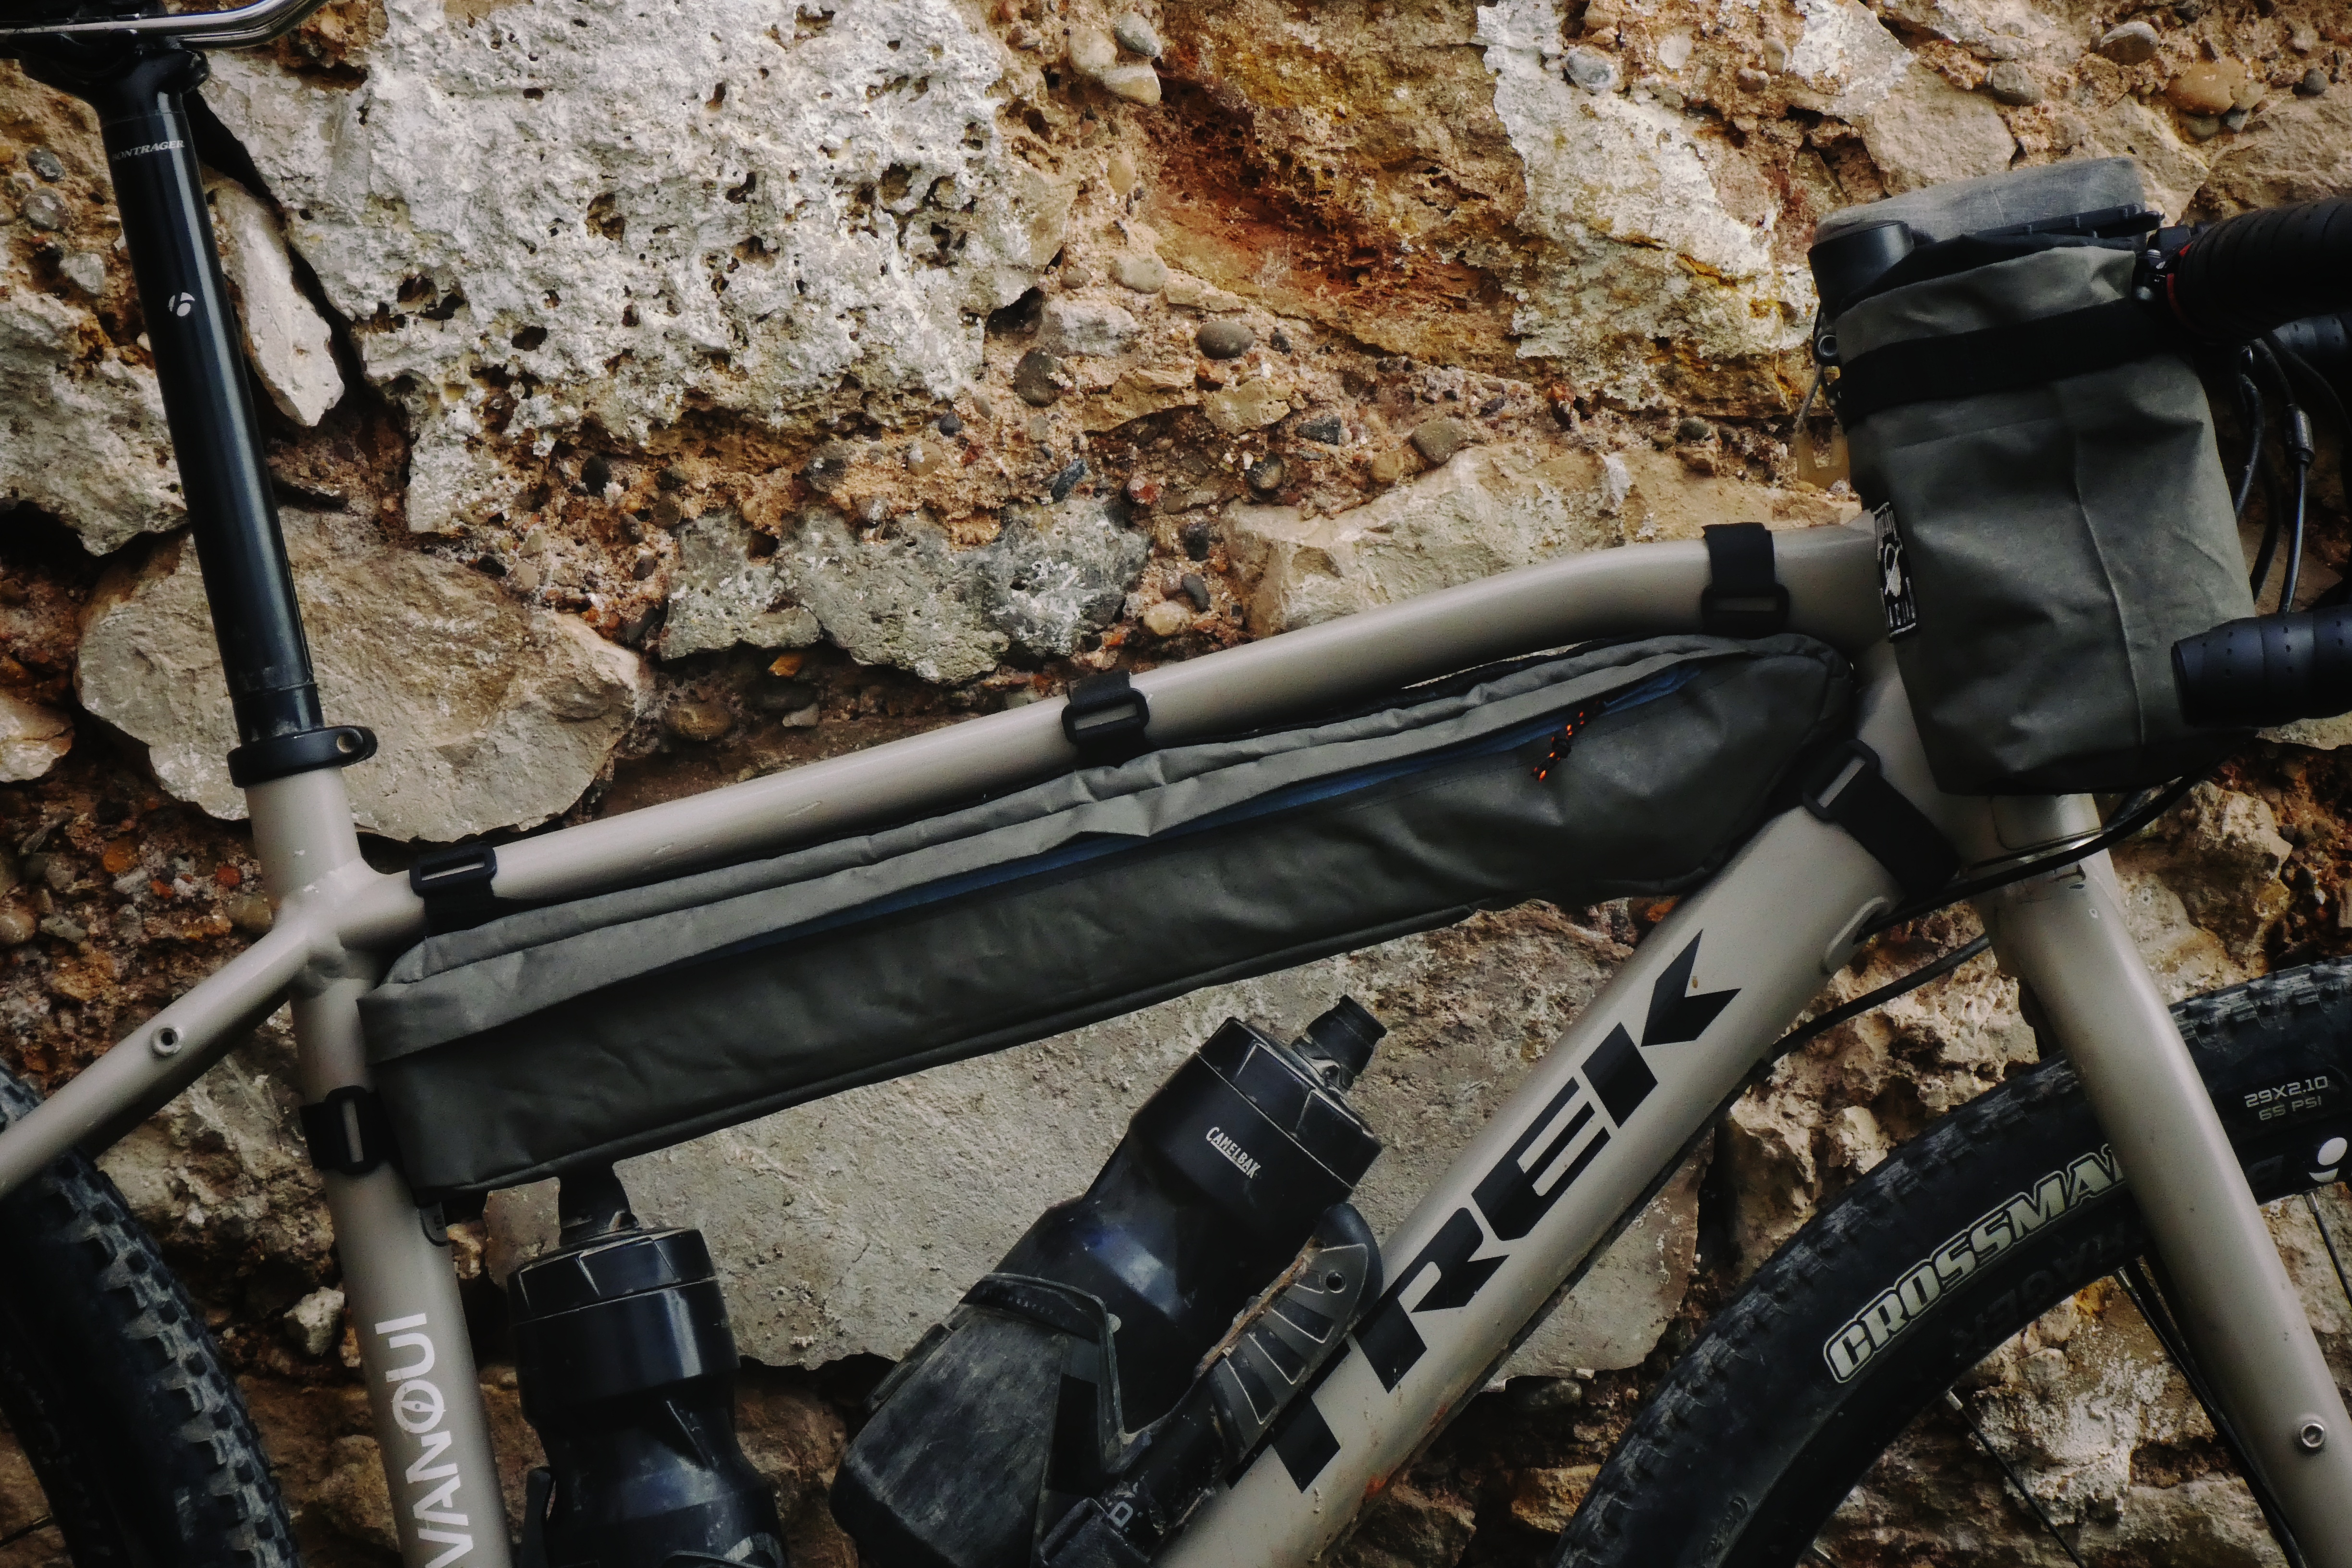
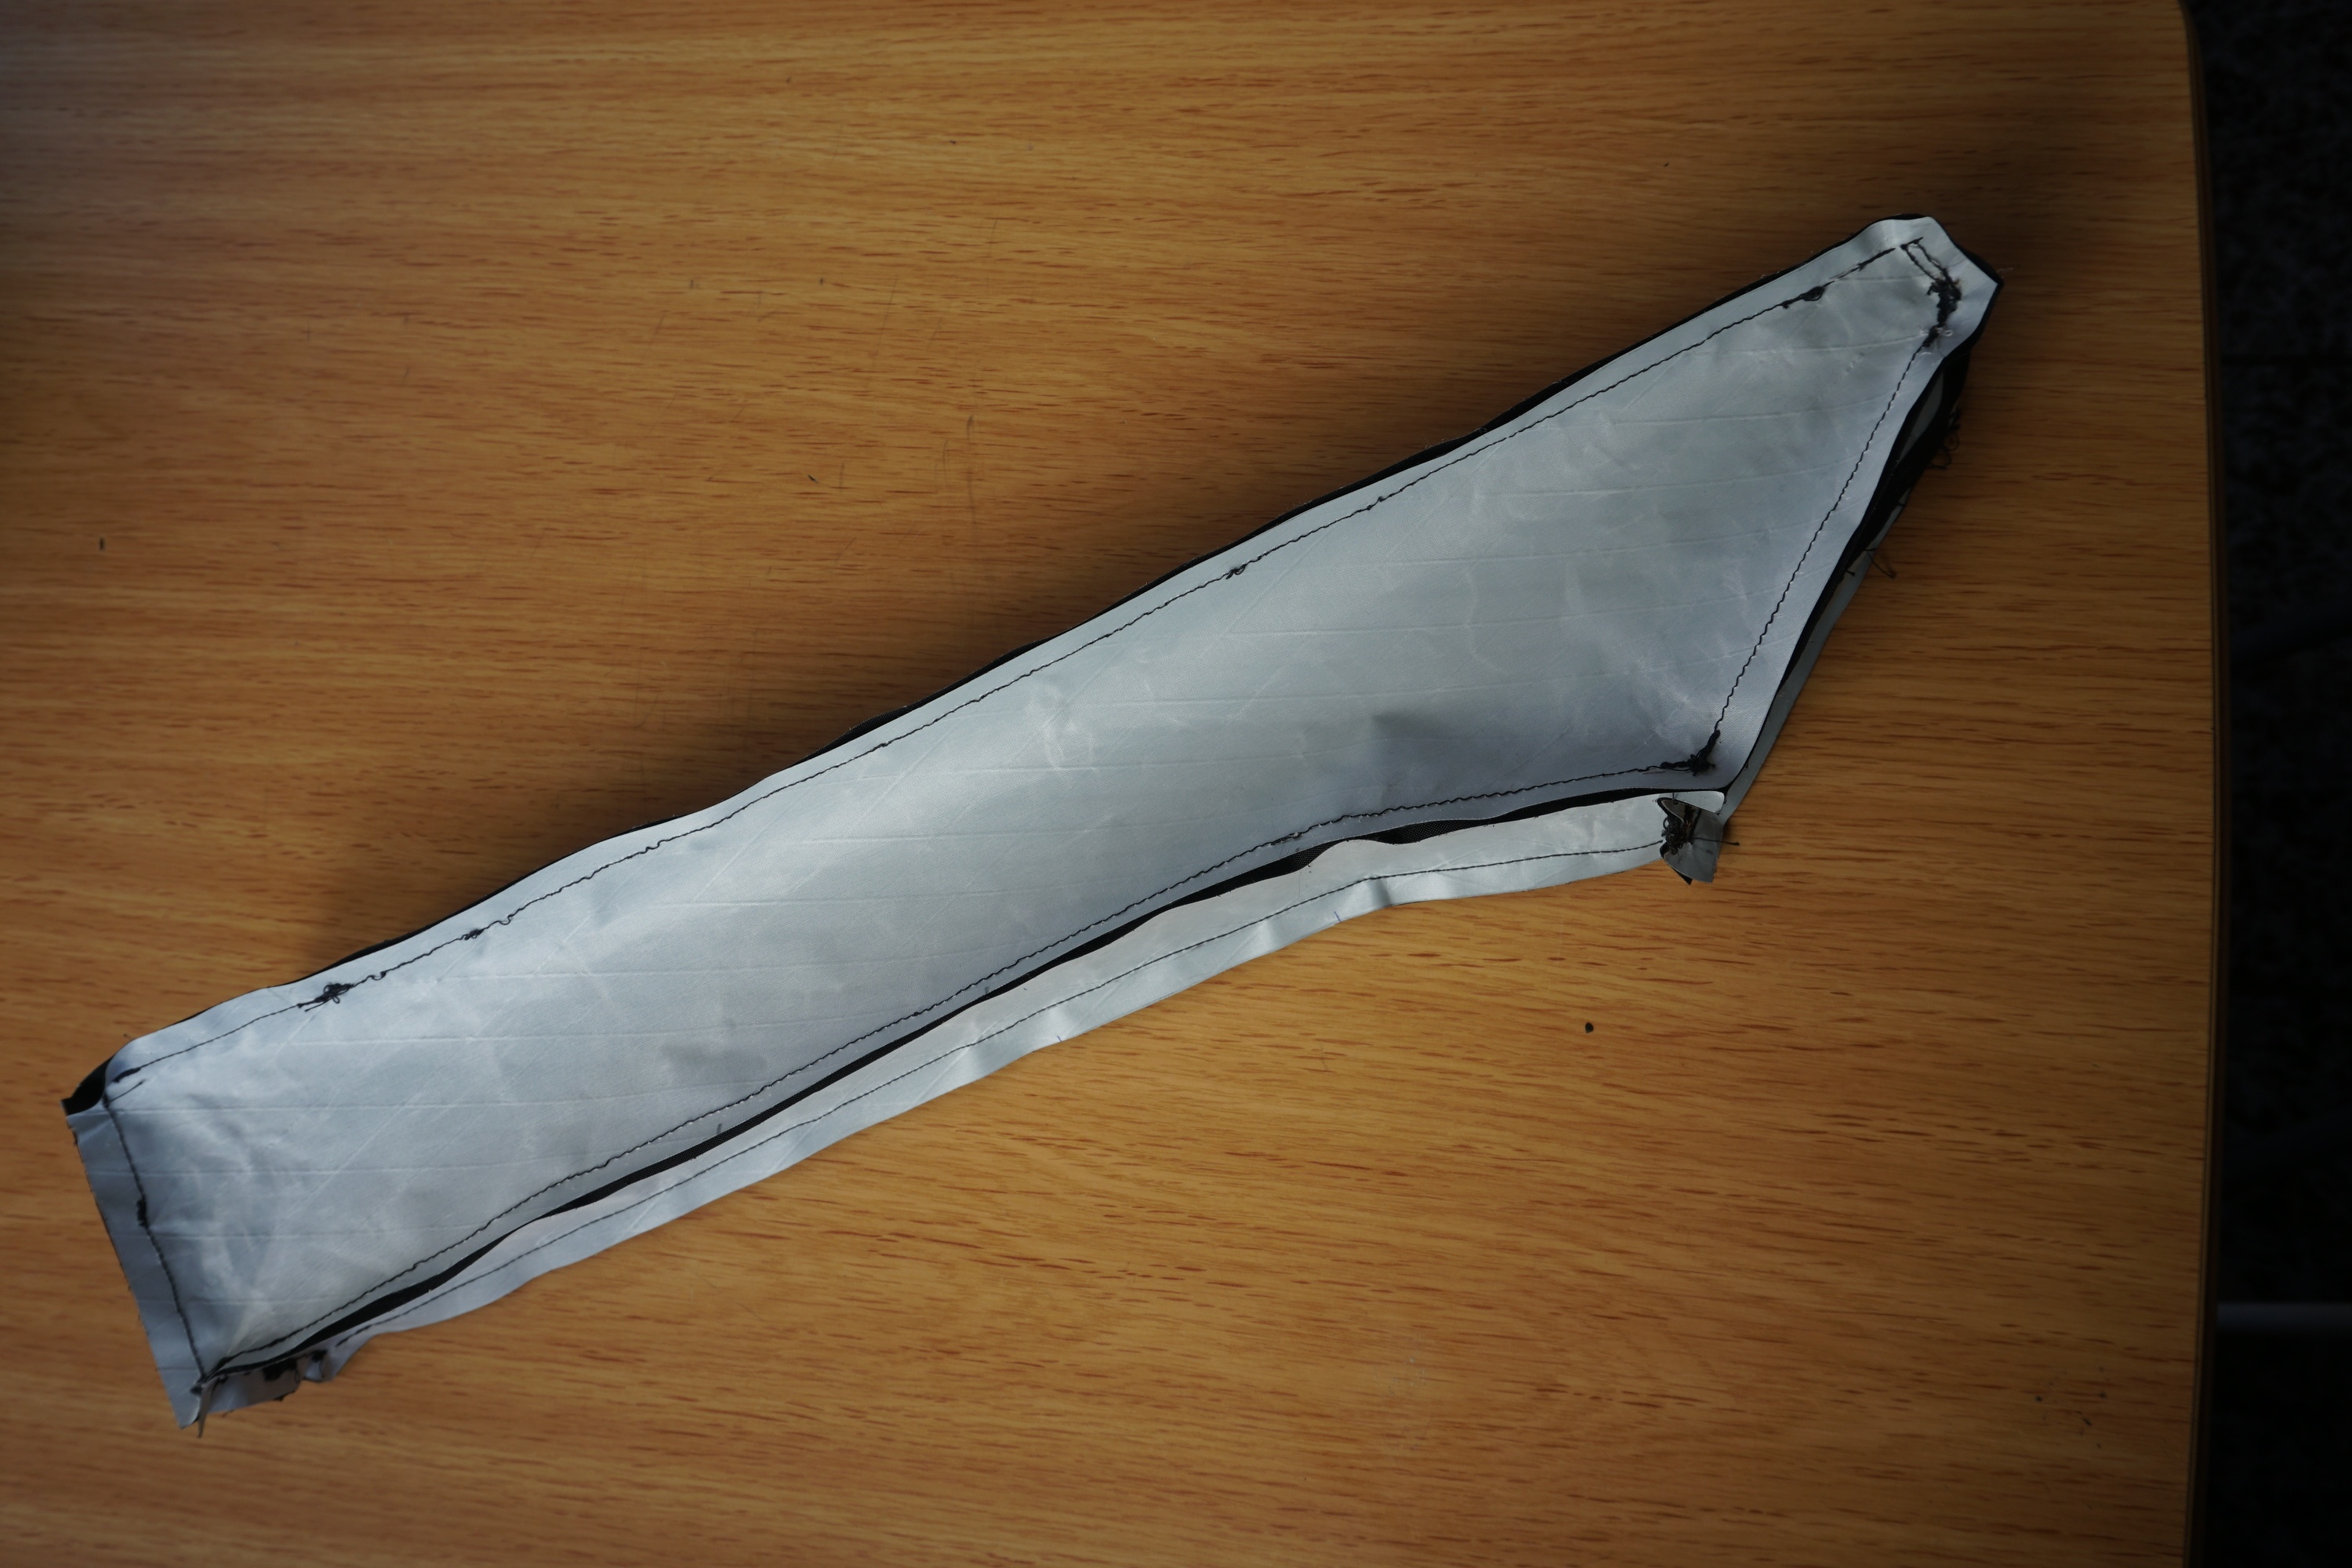
El objetivo principal era encontrar un alojamiento compacto para las varillas de nuestra tienda de campaña (Alpkit Ordos3). Siempre vi que el lugar natural para llevarlos era el tubo horizontal de mi bici, que es prácticamente de la misma largura, pero ningún modelo comercial se ajustaba a lo que necesitaba, sobre todo por la largura de las cremalleras, que hacían imposible que entraran las varillas en la bolsa.
The main goal was to find a compact location for our tent poles (Alpkit Ordos3). I always thought that the natural place for it was the horizontal tube, nearly the same length that the poles, but no comercial model fitted my needs, especially due to the length of zippers, which made it impossible to fit the poles inside.
Había que idear un sistema para poder meter unas varillas en una bolsa compacta que tuviera prácticamente la misma largura que las propias varillas. Tenía varias opciones en mi cabeza, como una compuerta trasera con velcro en el tubo vertical, otra cremallera, o un sistema enrollable como el de las bolsas estancas, pero ninguna terminaba de cuadrarme. Finalmente, el estuche de los rotuladores de María, que estaba encima de la mesa, me dio la idea definitiva: ¿por qué no alargar la cremallera hacia la parte trasera? así cuando hace falta acceder a los palos, abres la cremallera del todo y voilà!!
I had to devise a system to put the poles in a compact bag of nearly the same length. I had several options in mind, such as a rear velcro opening on the vertical tube, another zipper there, or a roll system like a dry bag, but none of those solutions convinced me… Finally, Maria’s drawing case, that was on the table on that moment, gave me the final idea: Why not extend the zipper to the rear side? so when you need to access the poles, you open the zipper completely and voilà!!

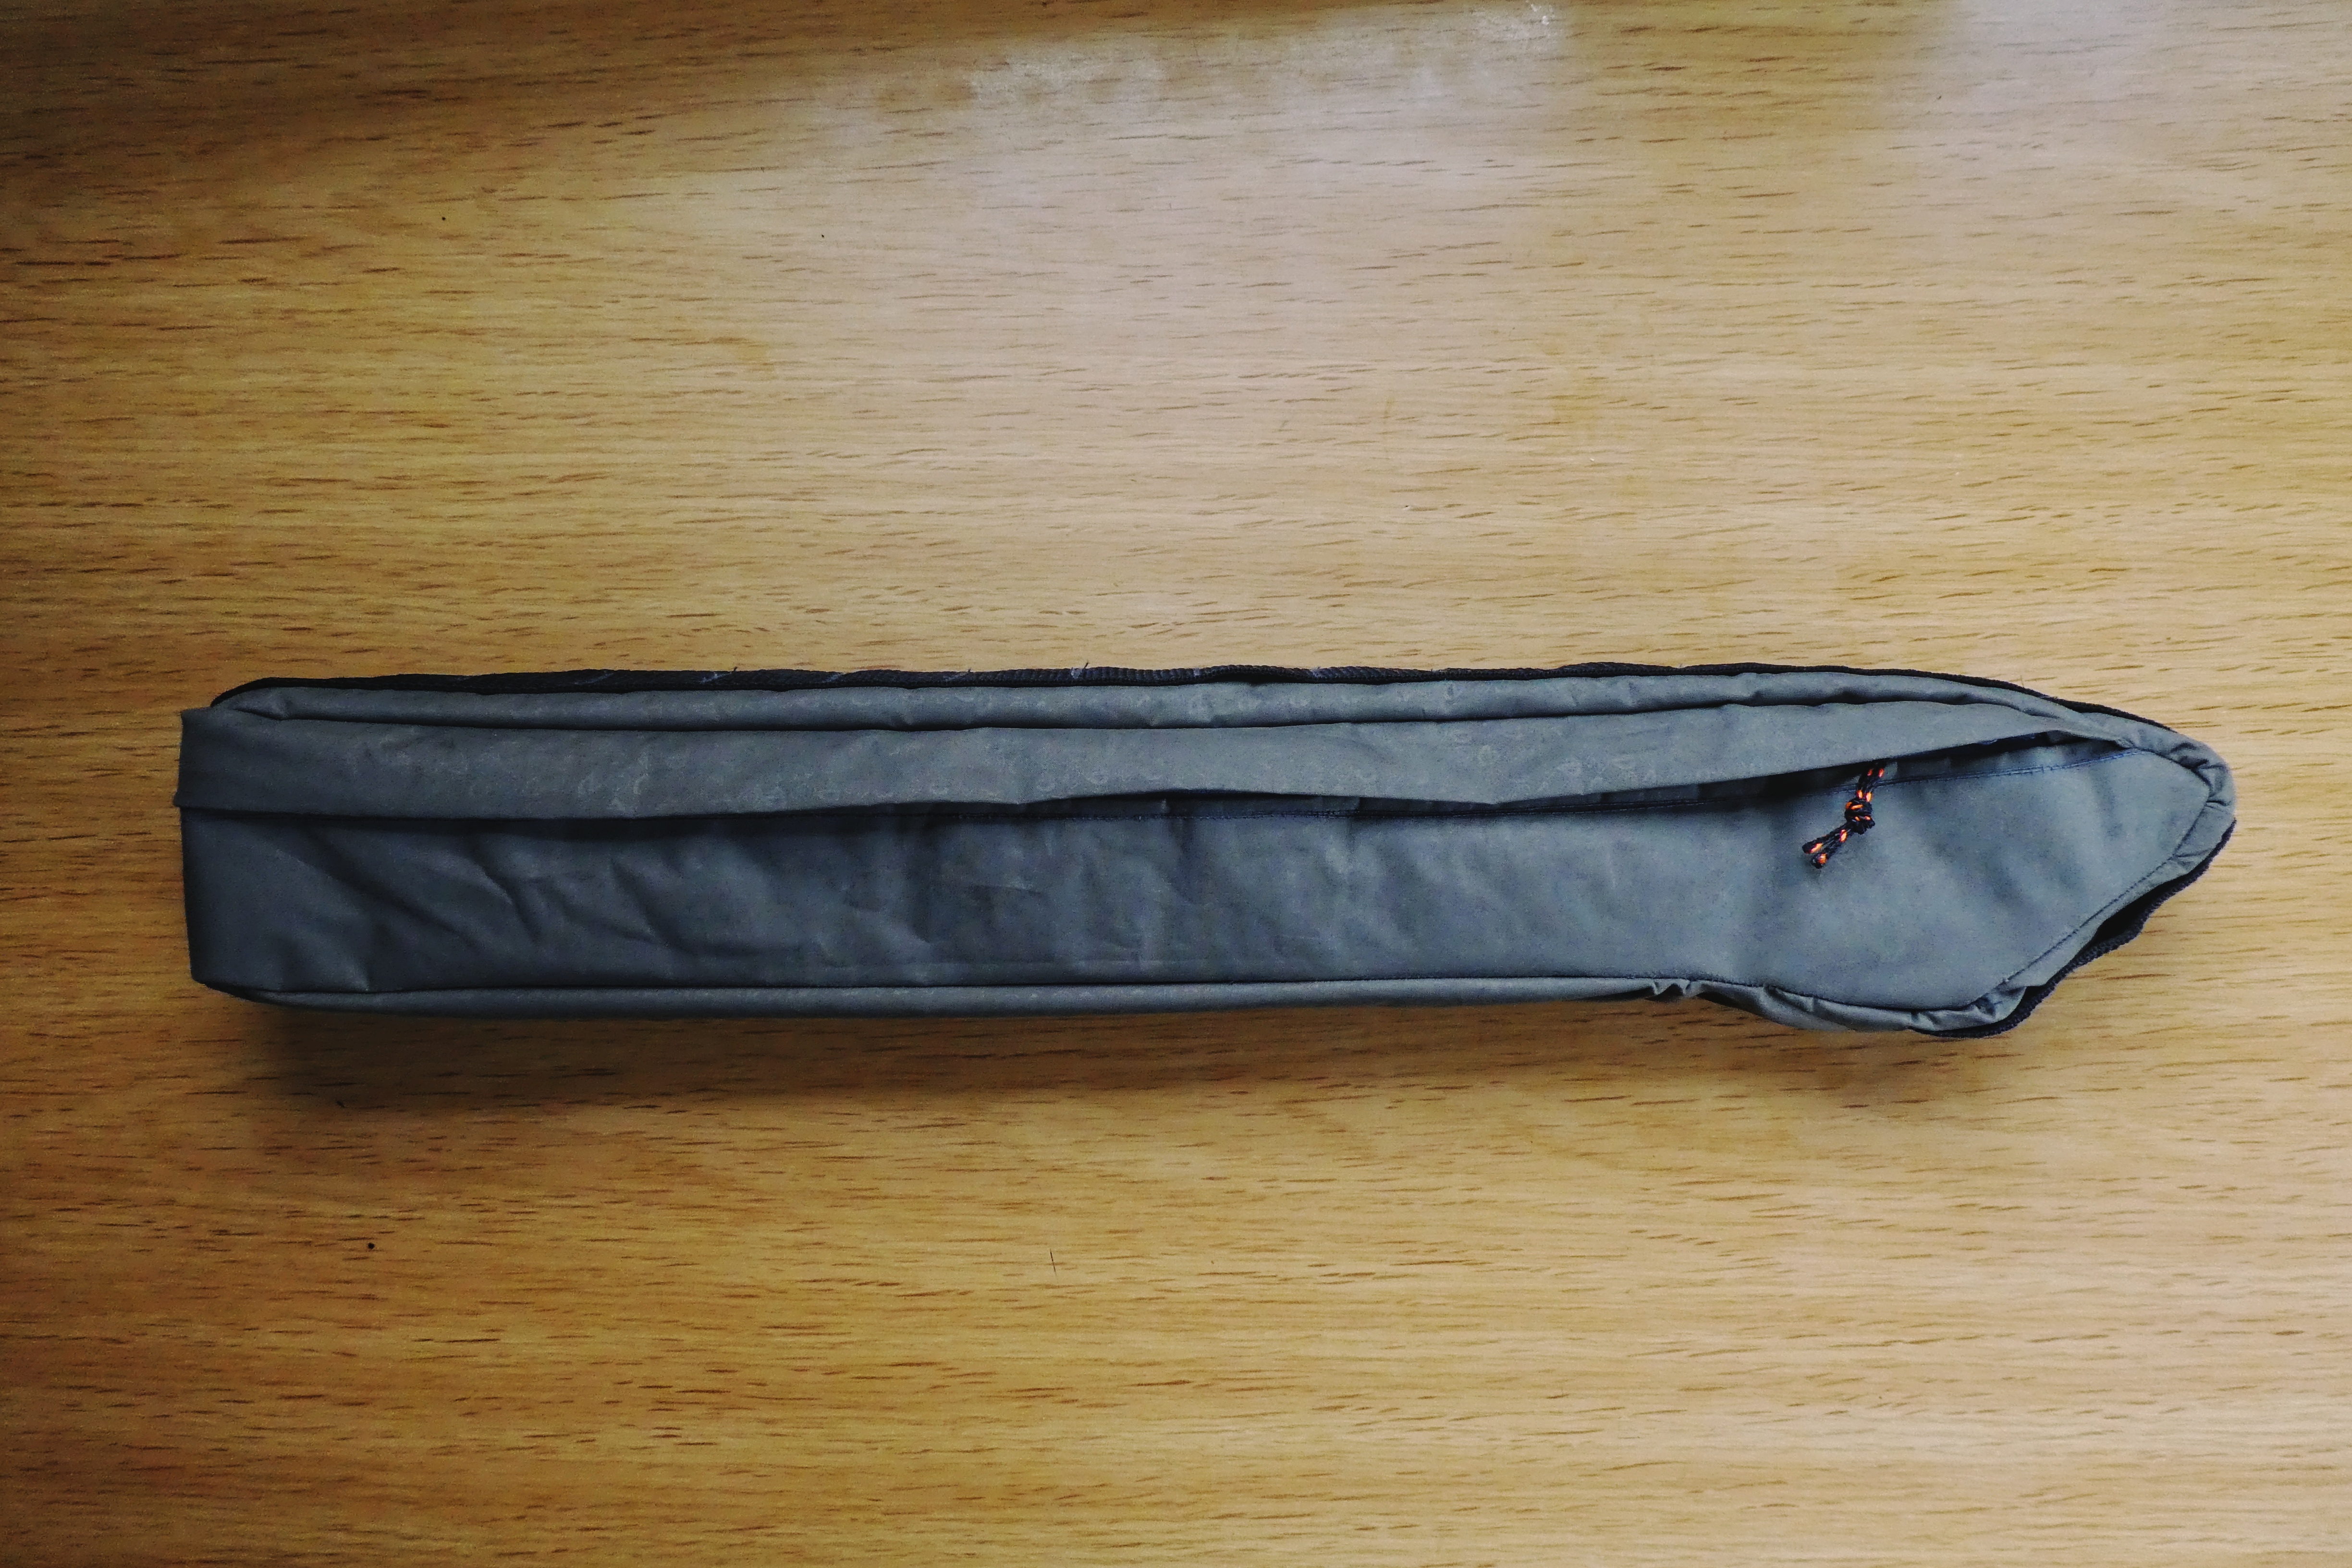
Así que, manos a la obra, si algo no existe y puedes hacerlo… a por ello! El resultado le queda como un guante a la bici, y el sistema para sacar los palos funciona bien, ya veremos cuando la probemos en la vida real…
So, if something doesn’t exist and you can do it… go for it! The result fits perfectly on the bike, and the zipper system works well, we will see with a real use…


Algo que he aprendido con estas historias es a valorar el precio real de lo hecho a mano. Normalmente no nos damos cuenta de la cantidad de horas de trabajo que puede haber detrás de un cuadro, una prenda, o unas bolsas hechas a mano. Un fuerte abrazo a todos los artesanos y artesanas!!
What I learned with this is to value the real price of handmade things. We don’t usually realise the amount of working hours behind a handmade frame, garment, or set of bags. Big hugs for all the artisans!


De forma muy resumida, este fue el proceso para crear esta bolsa
Very briefly, this was the process to create this bag
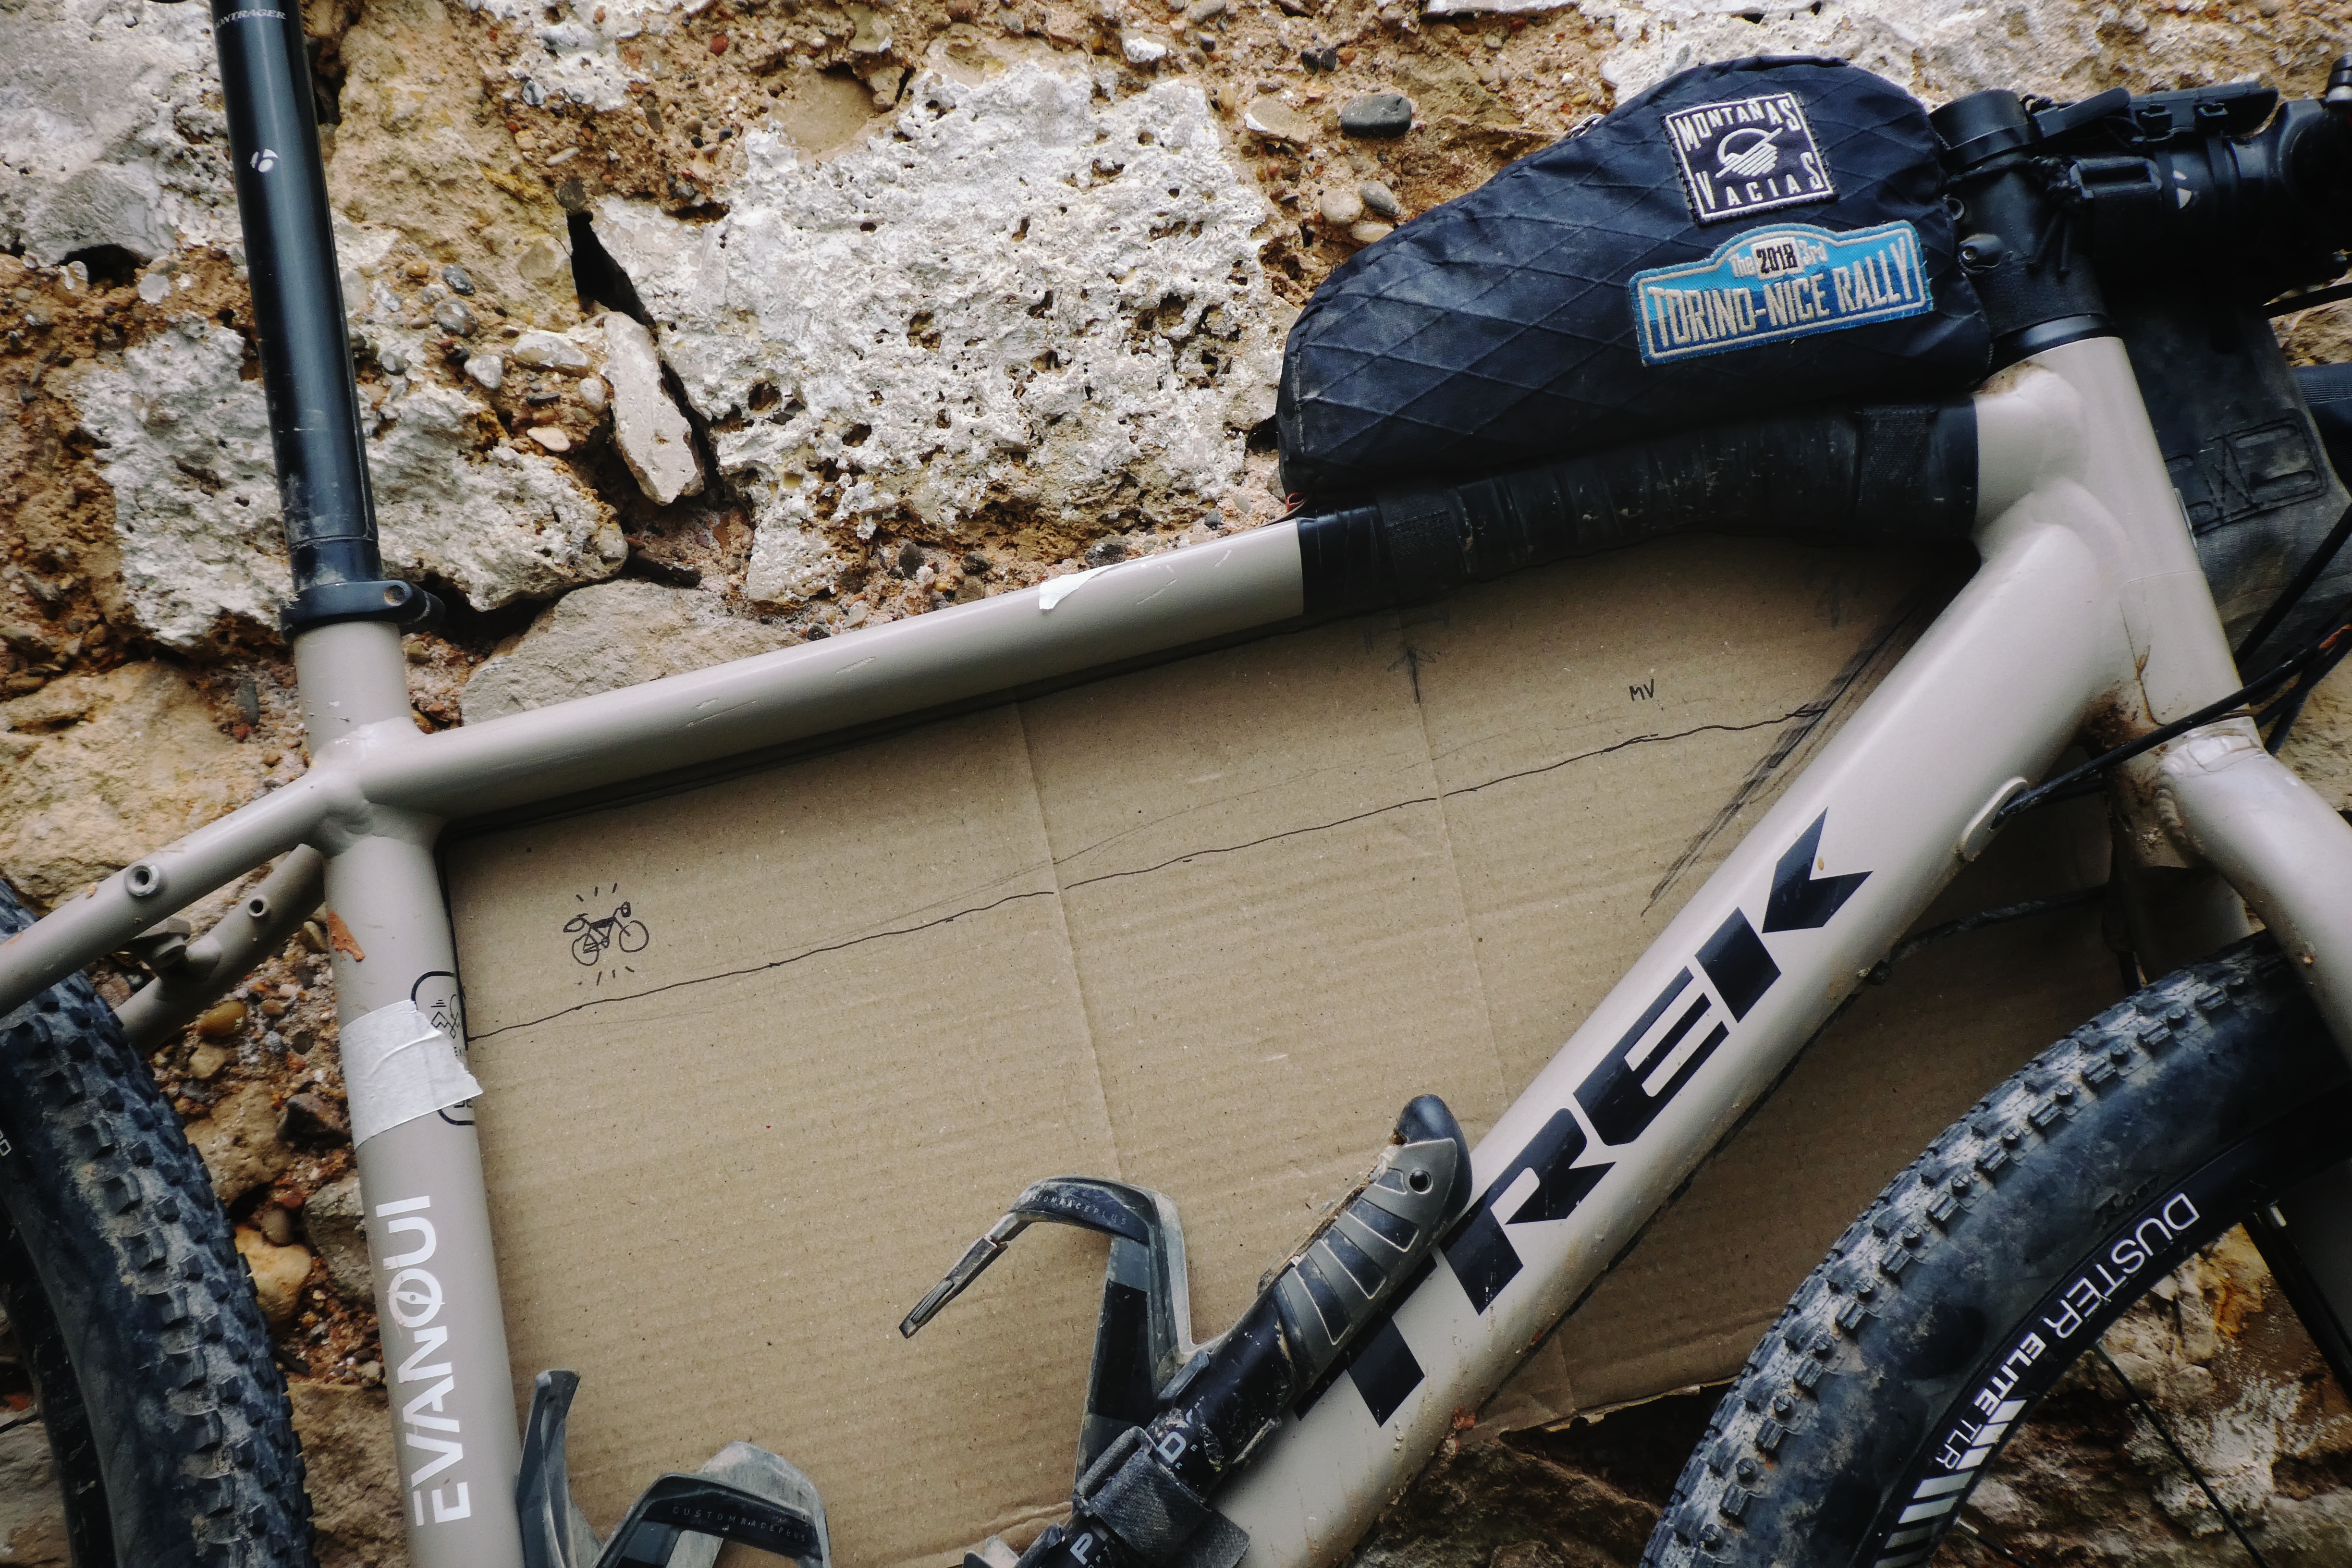
#1
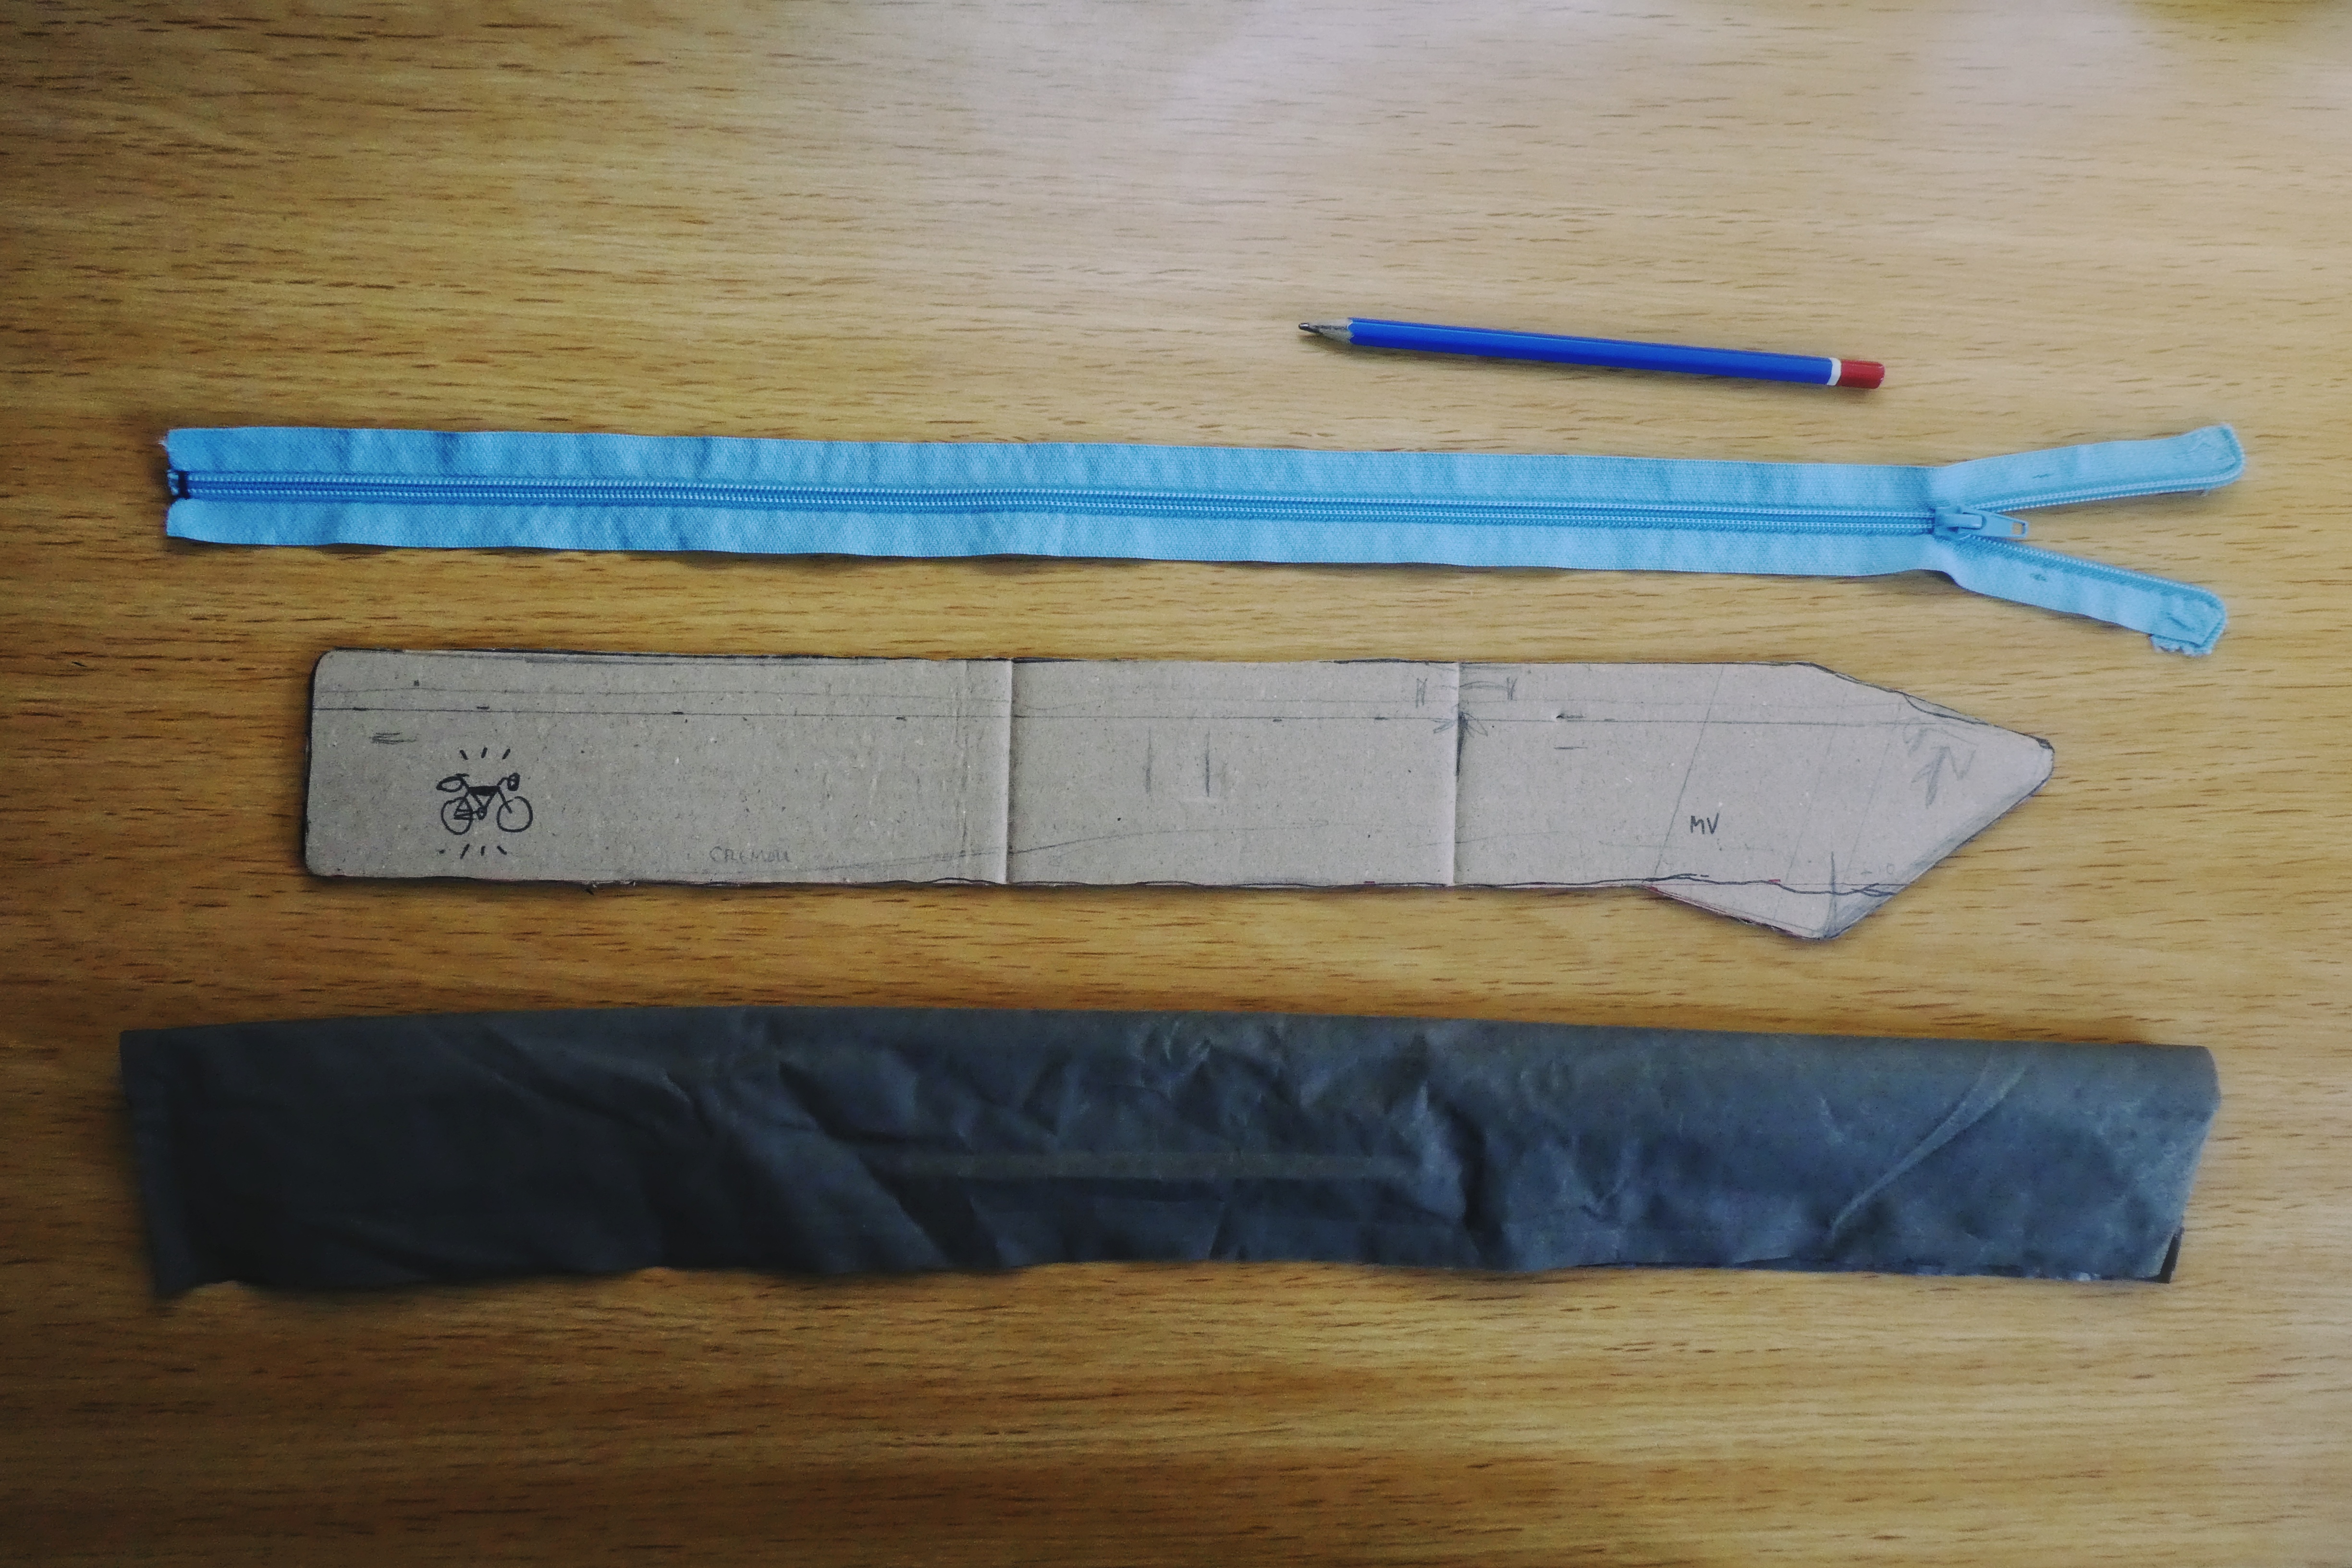
Saca la plantilla en un cartón
Take out the pattern in a cardboard

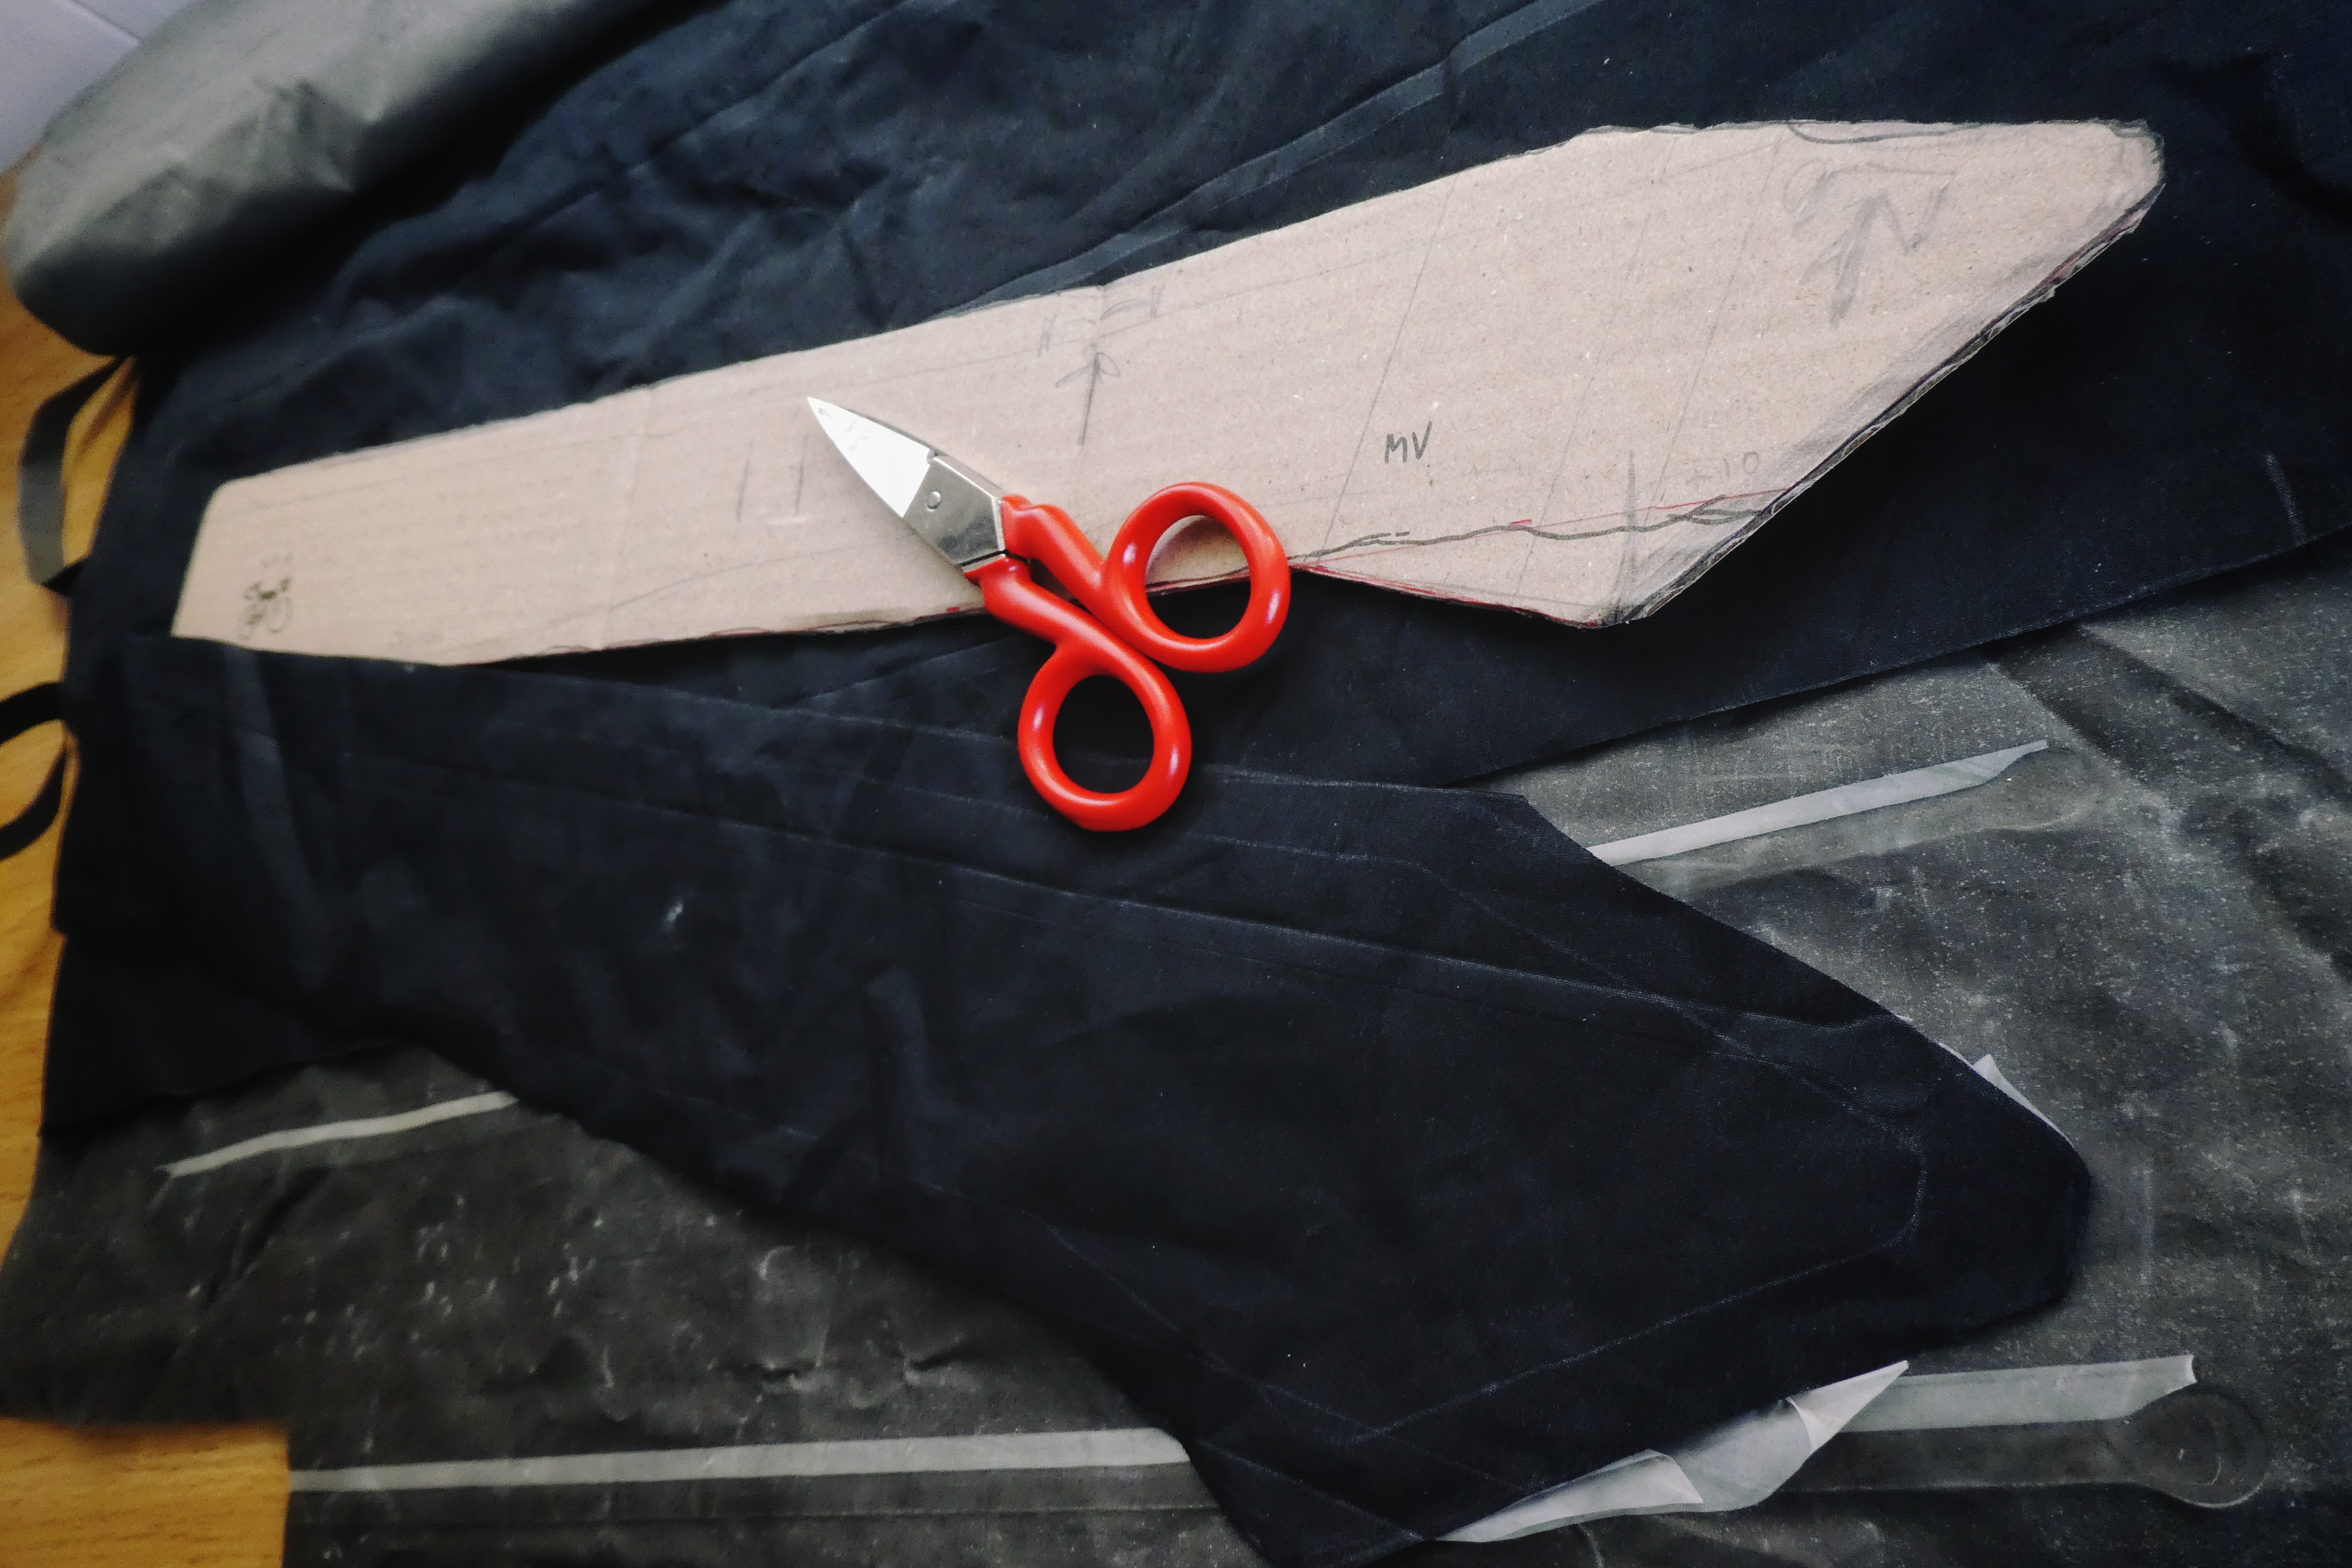
#2
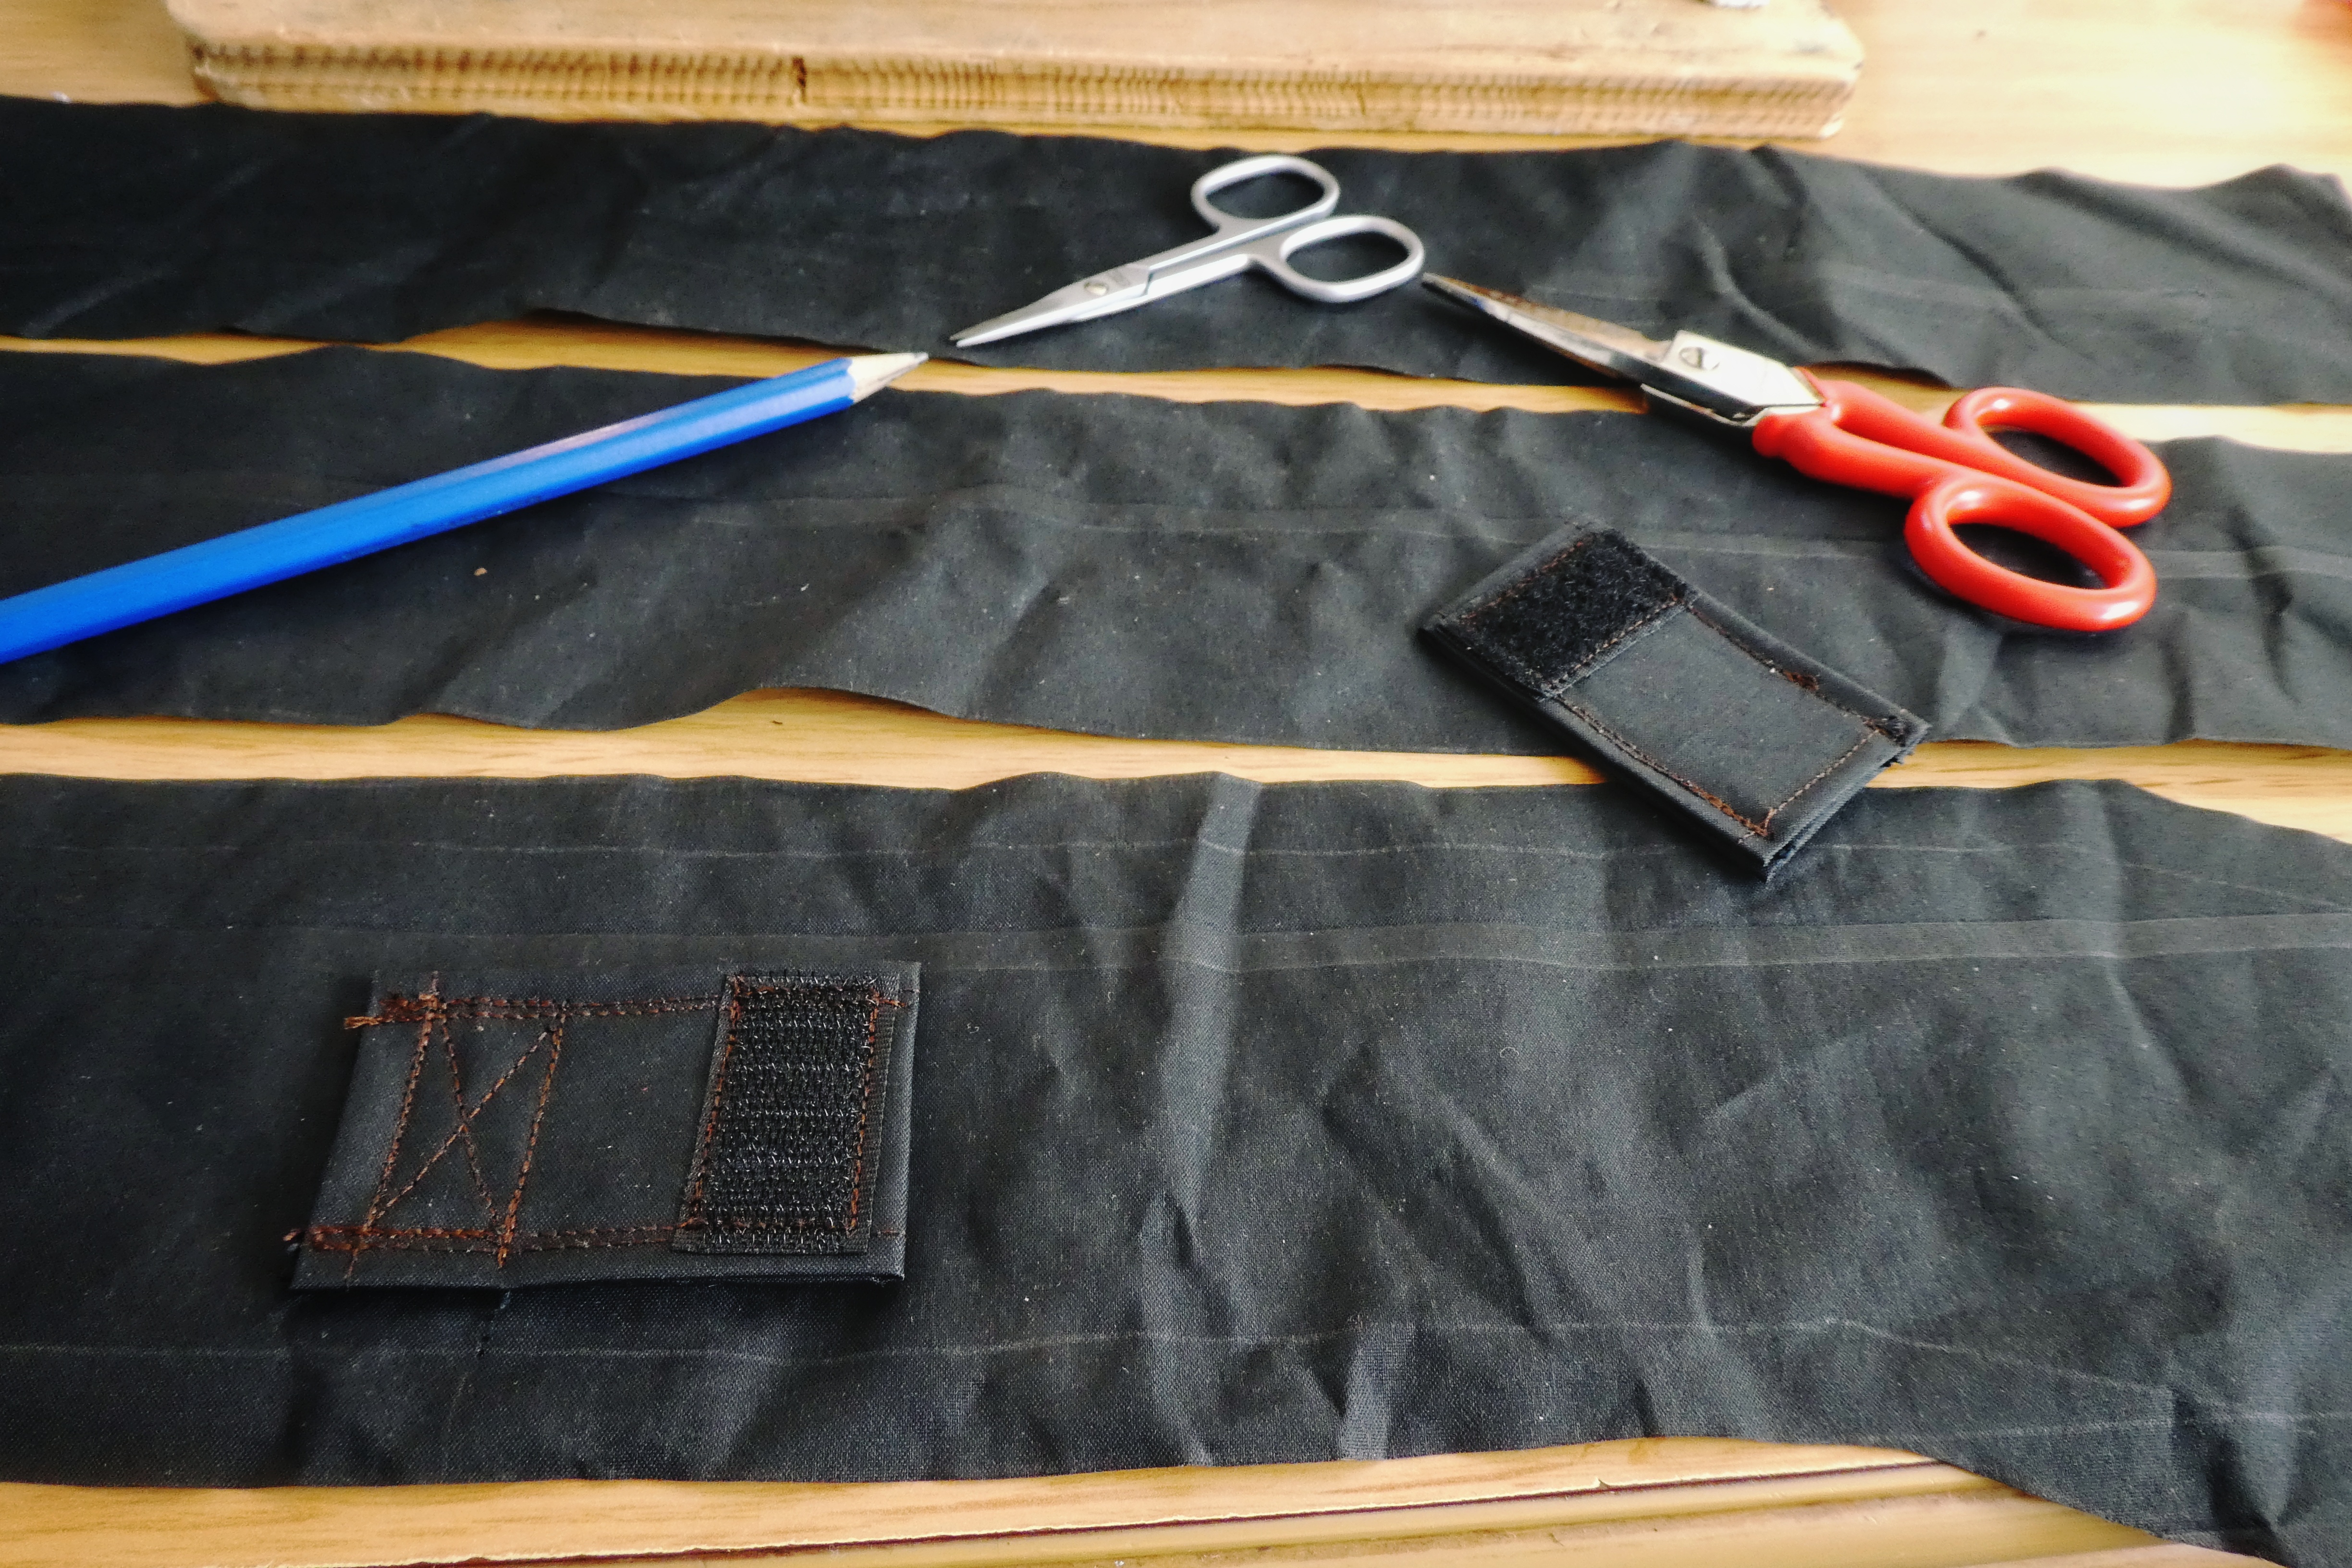
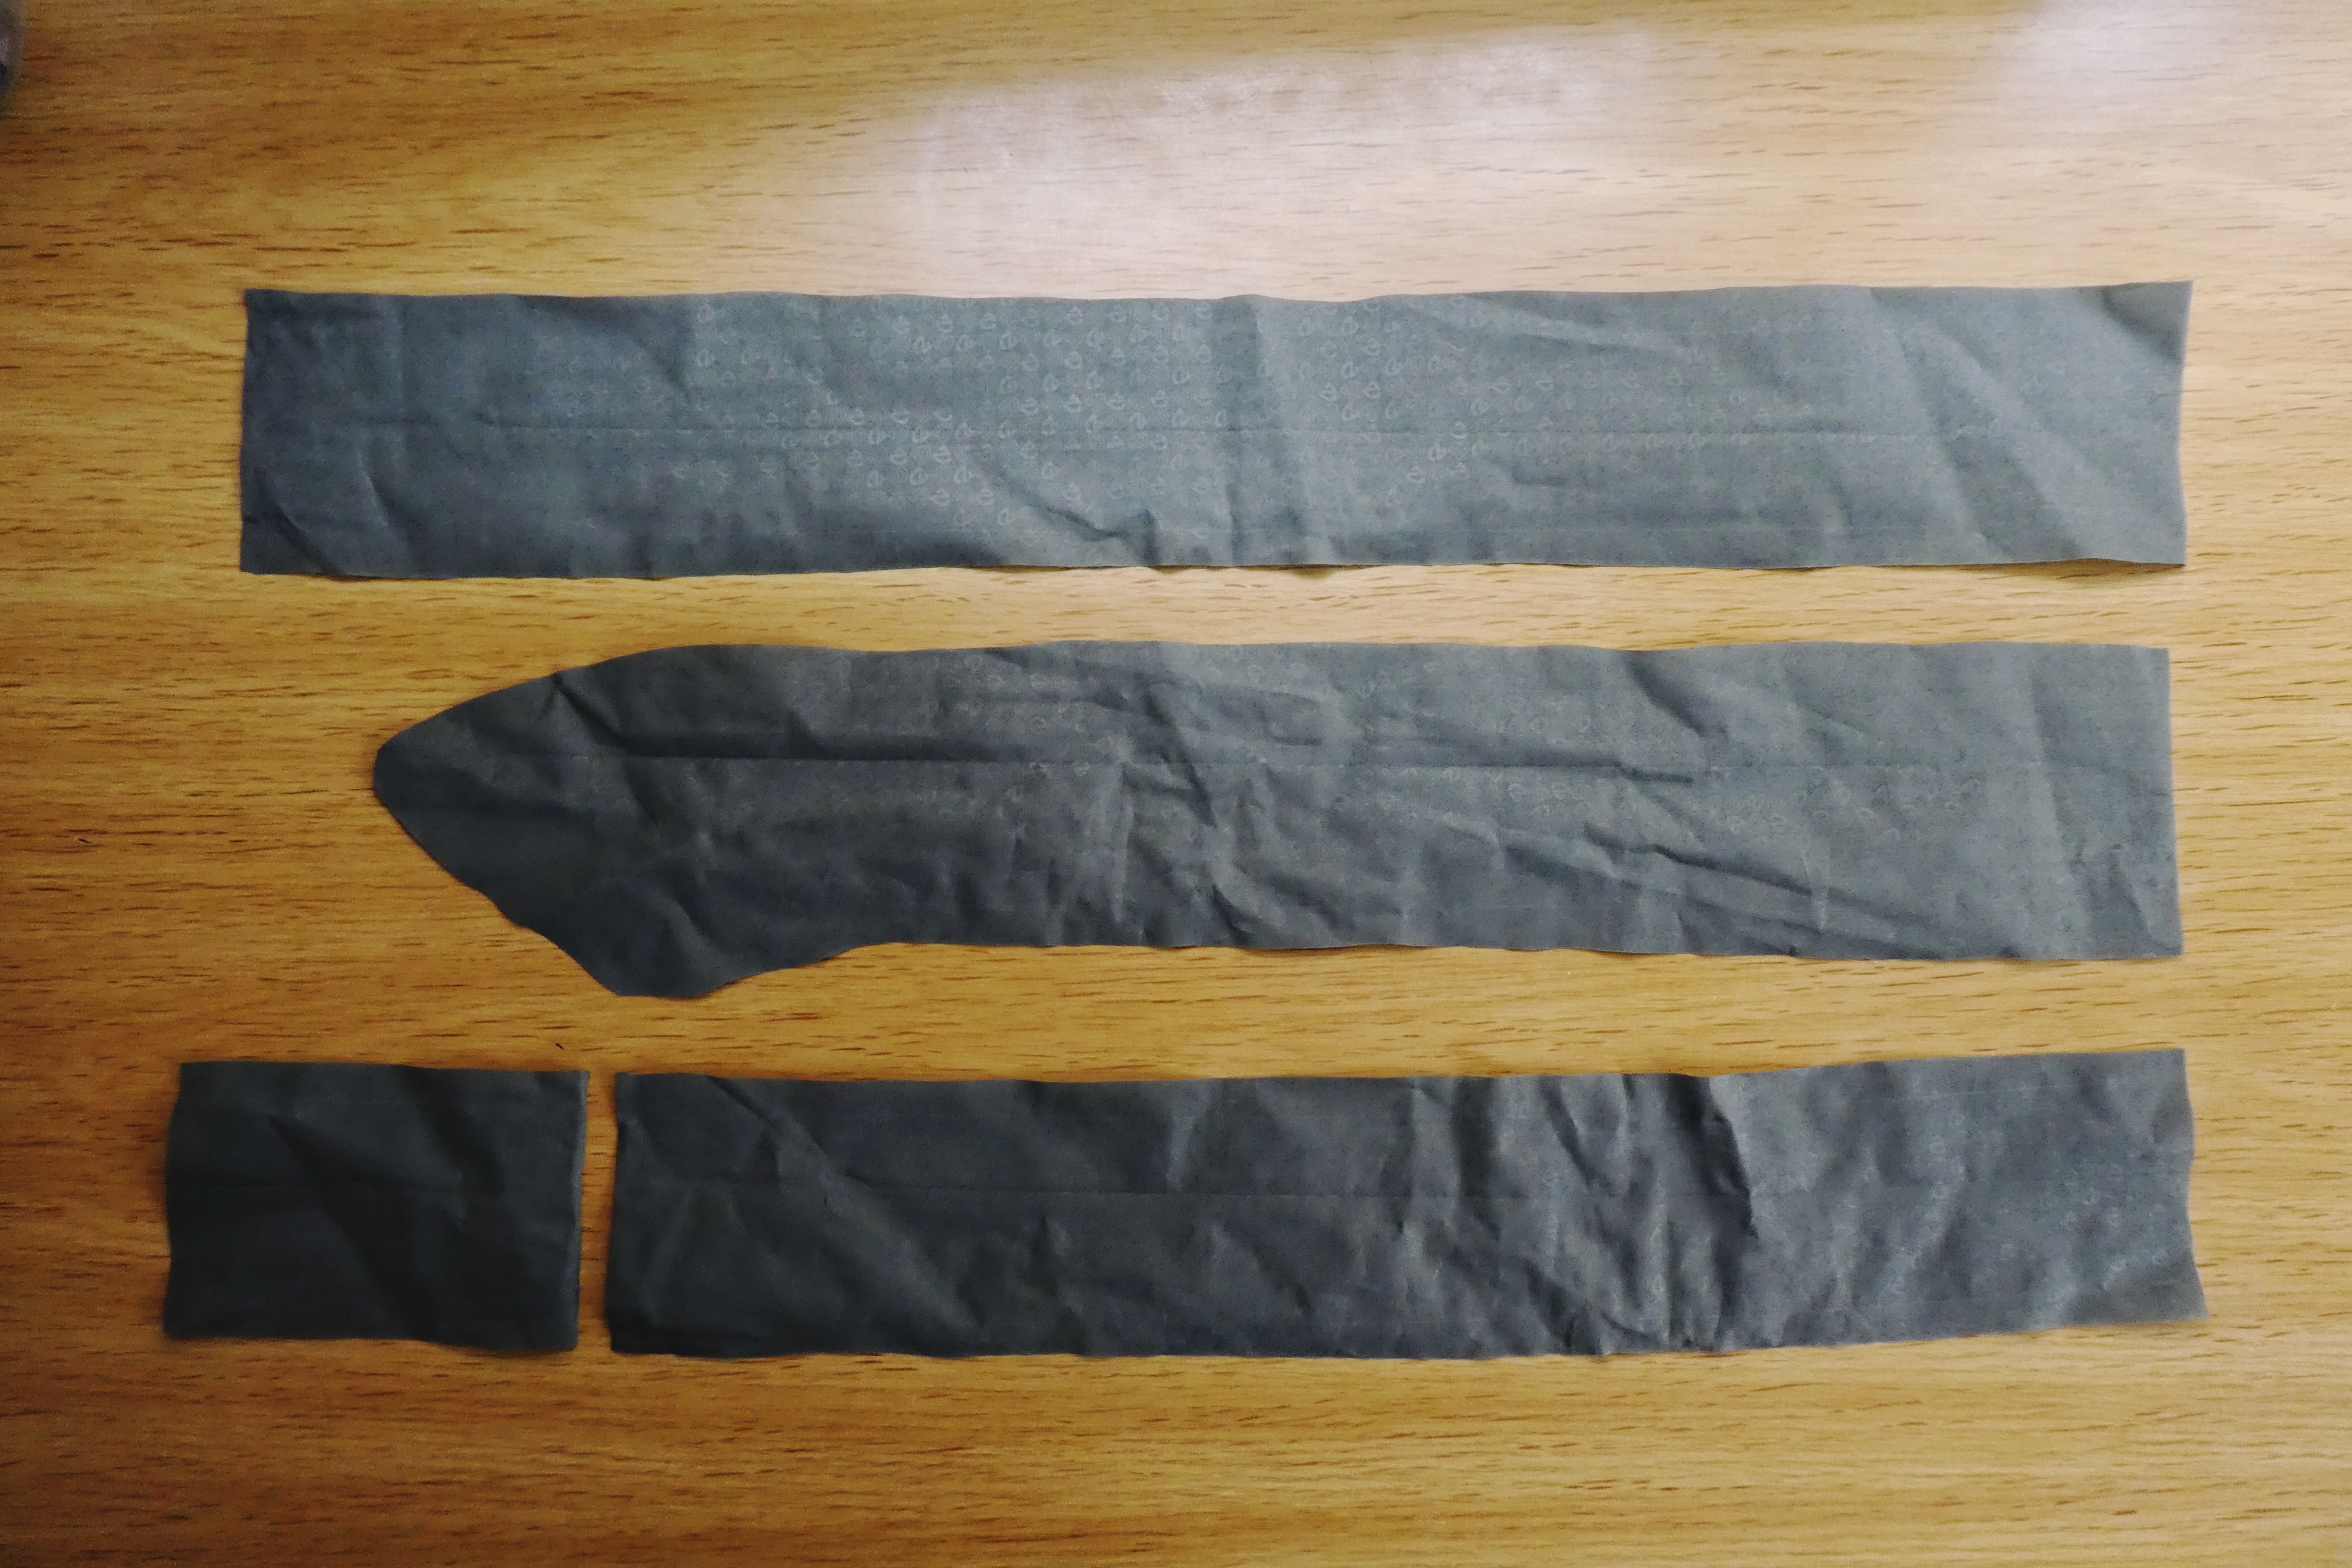
Corta las piezas, primero las partes interiores, dejando un margen de 1 cm para las costuras
Cut the pieces, first the inner parts, leaving 1 cm of margin for the sewings
#3
Cosemos un separador interior que cerrará con velcro, por si queremos llevar objetos más pequeños en la bolsa.
Sew a velcro divider, so that we can carry smaller objects on it
#4
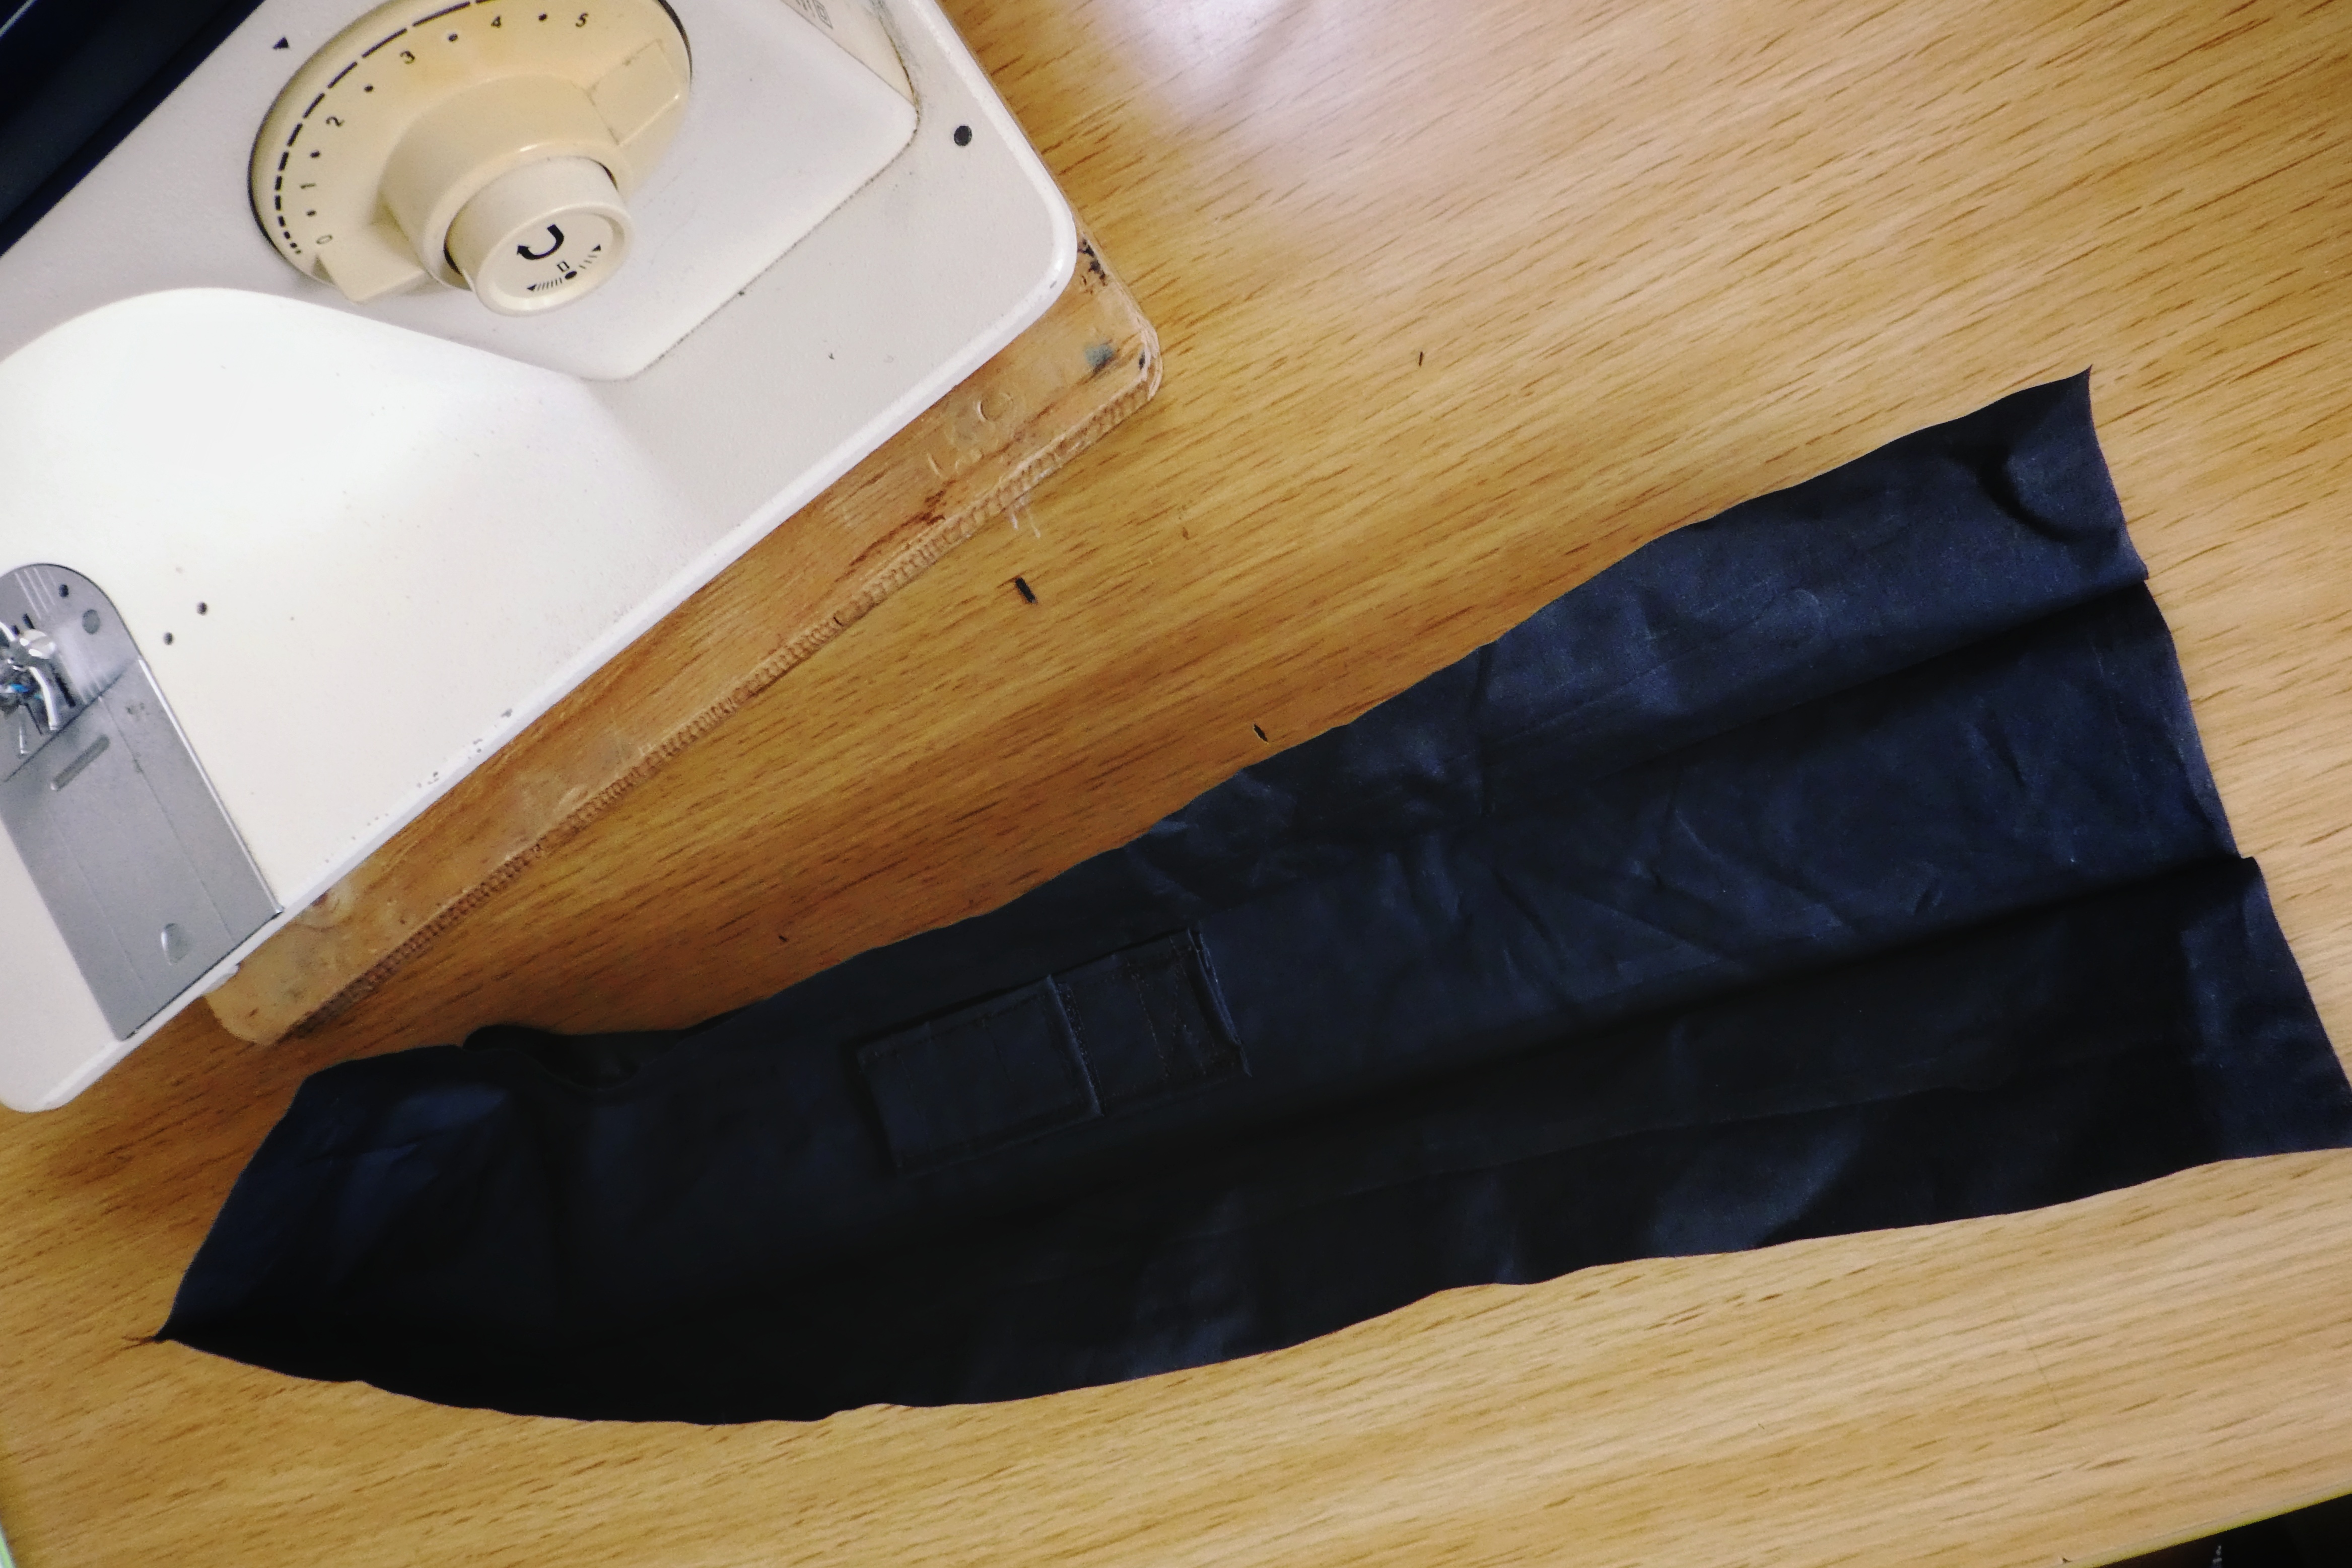
Formamos la parte interior, salvo la parte frontal y lateral trasera, las partes con cremallera, será el último paso
Sew the inner part, but the front and rear parts, the zipper ones, it will be the last step
#5
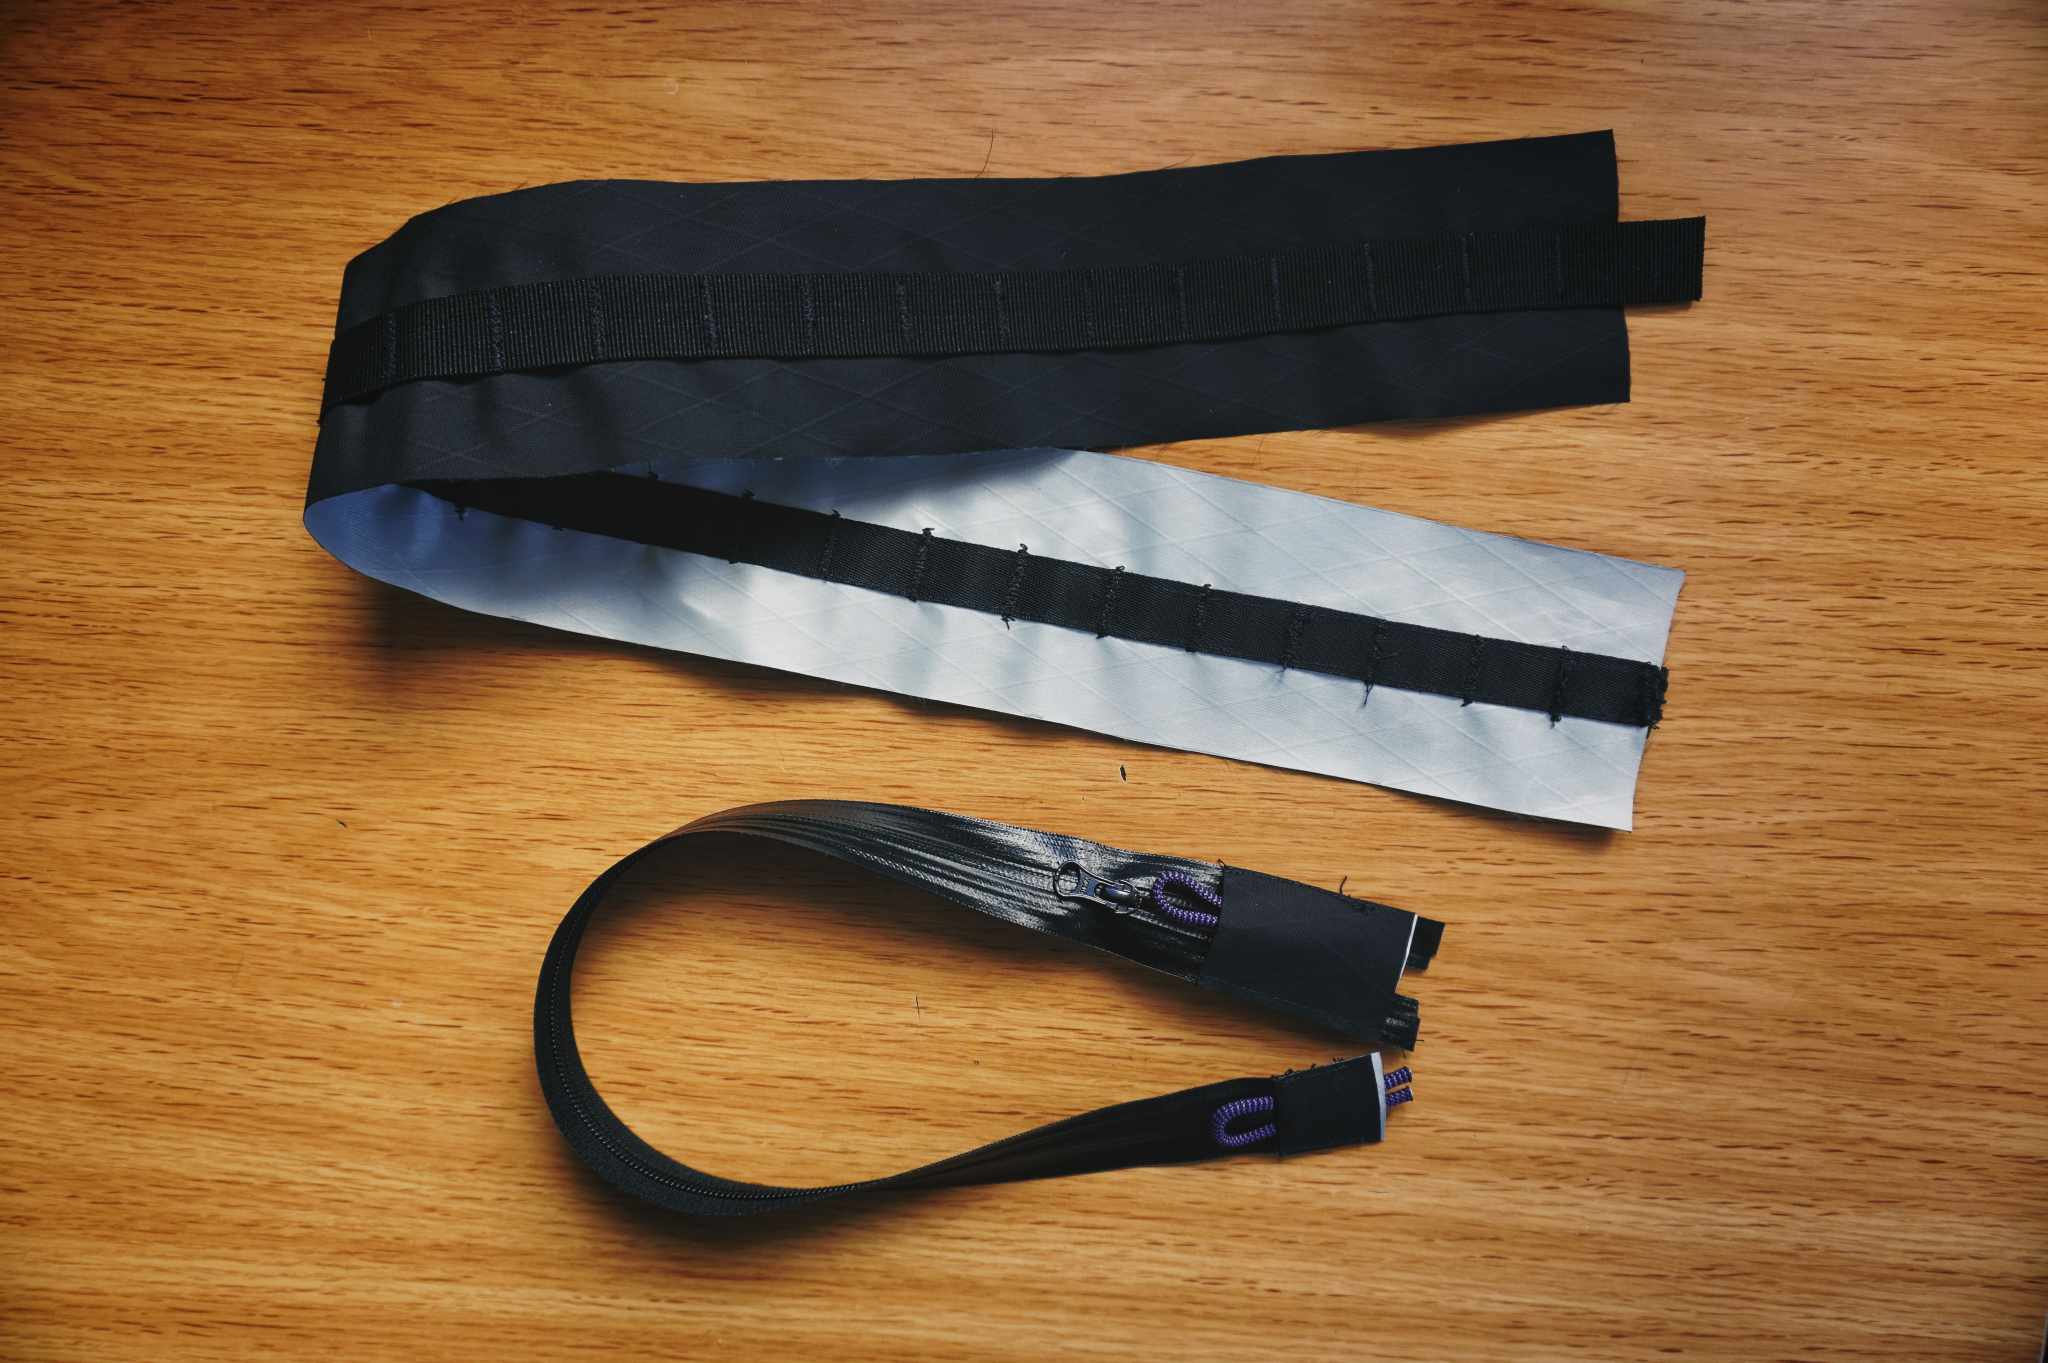
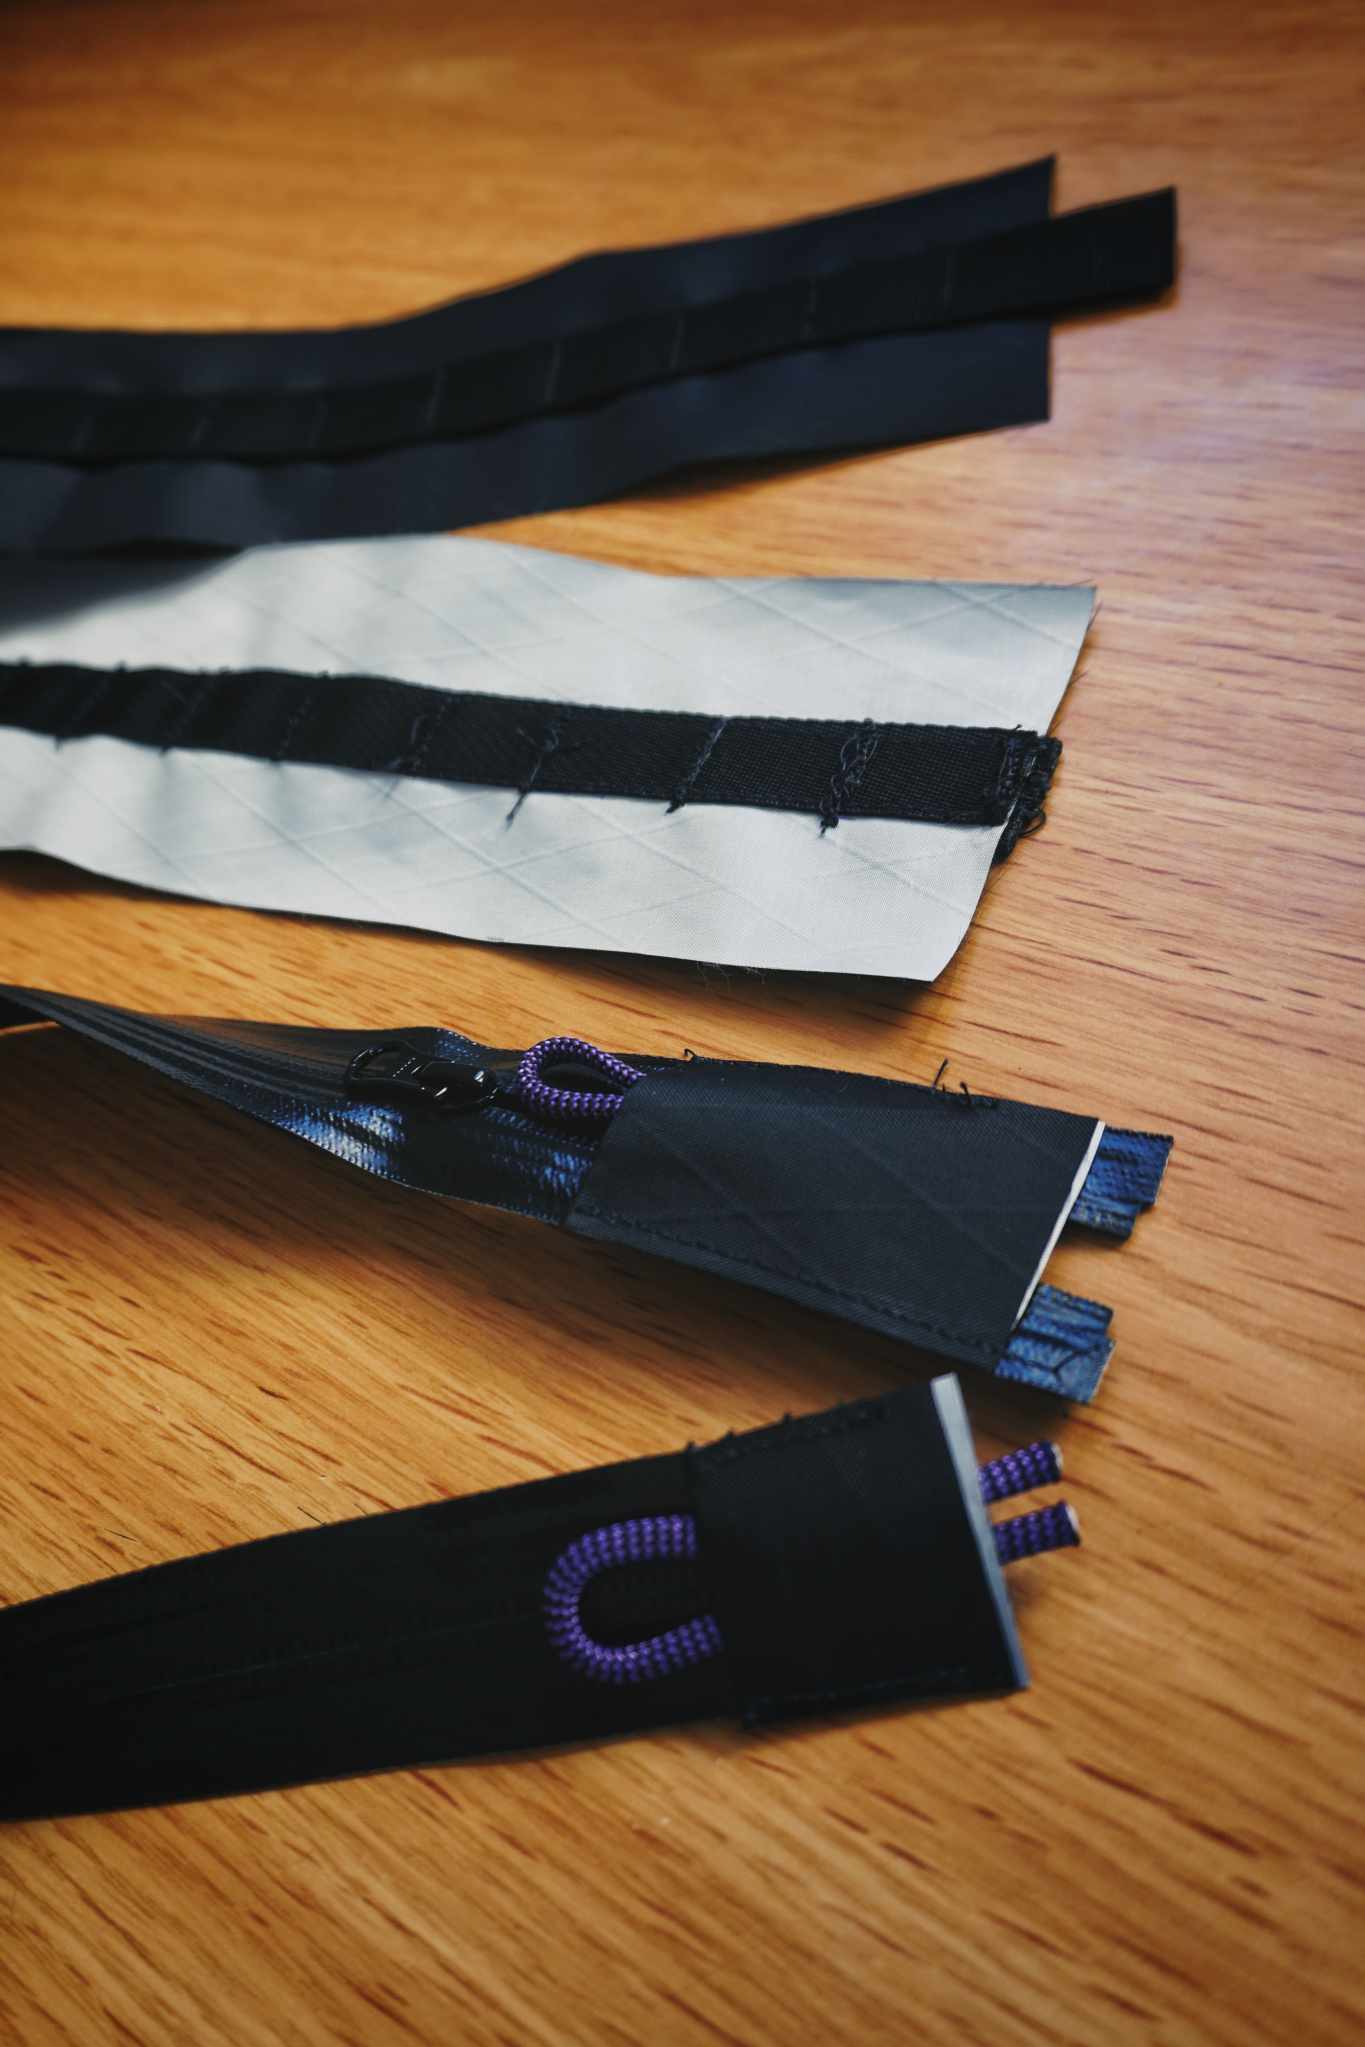
Ten en cuenta que la parte frontal y la cremallera se extenderán hacia la parte trasera de la bolsa para poder abrirla más ampliamente
Please note that the front and zipper will extend through the rear part of the bag, on the vertical tube, in order to open it widely
#6
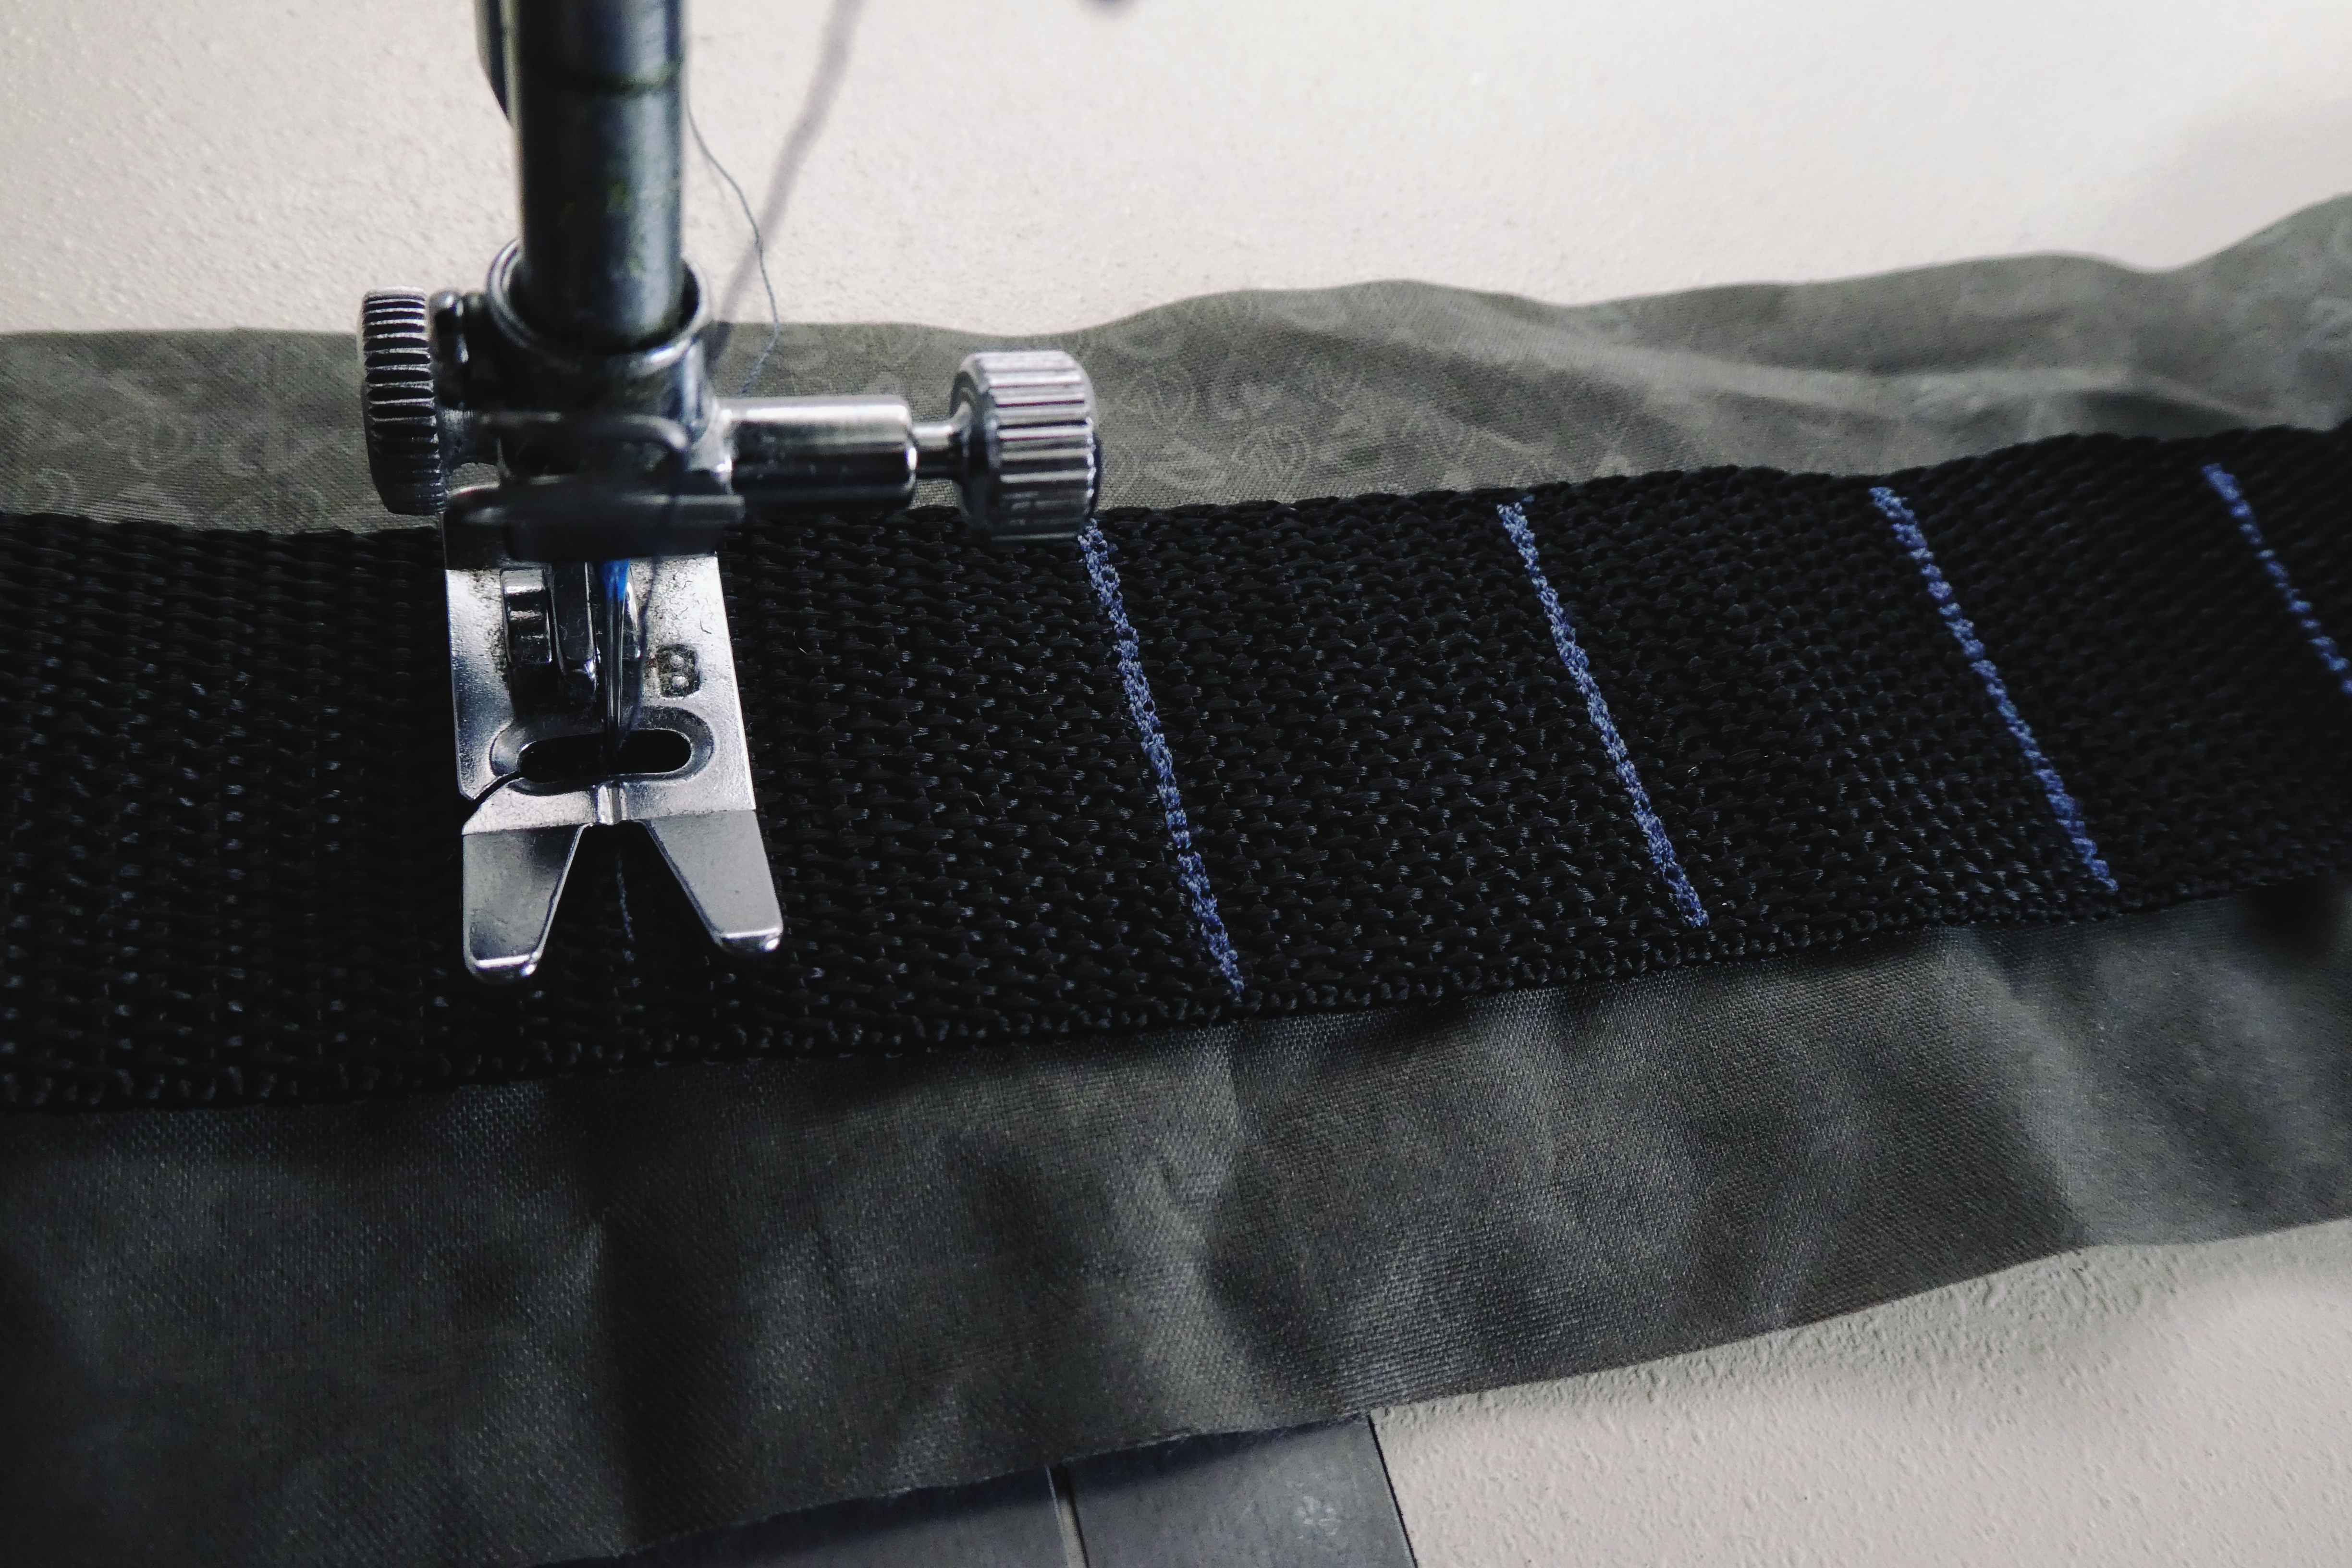
Corta todas las piezas frontales y cose las tiras de sujección, con bucles de 3 cm
Cut all the outer parts and sew the webbing with 3 cm loops
#7
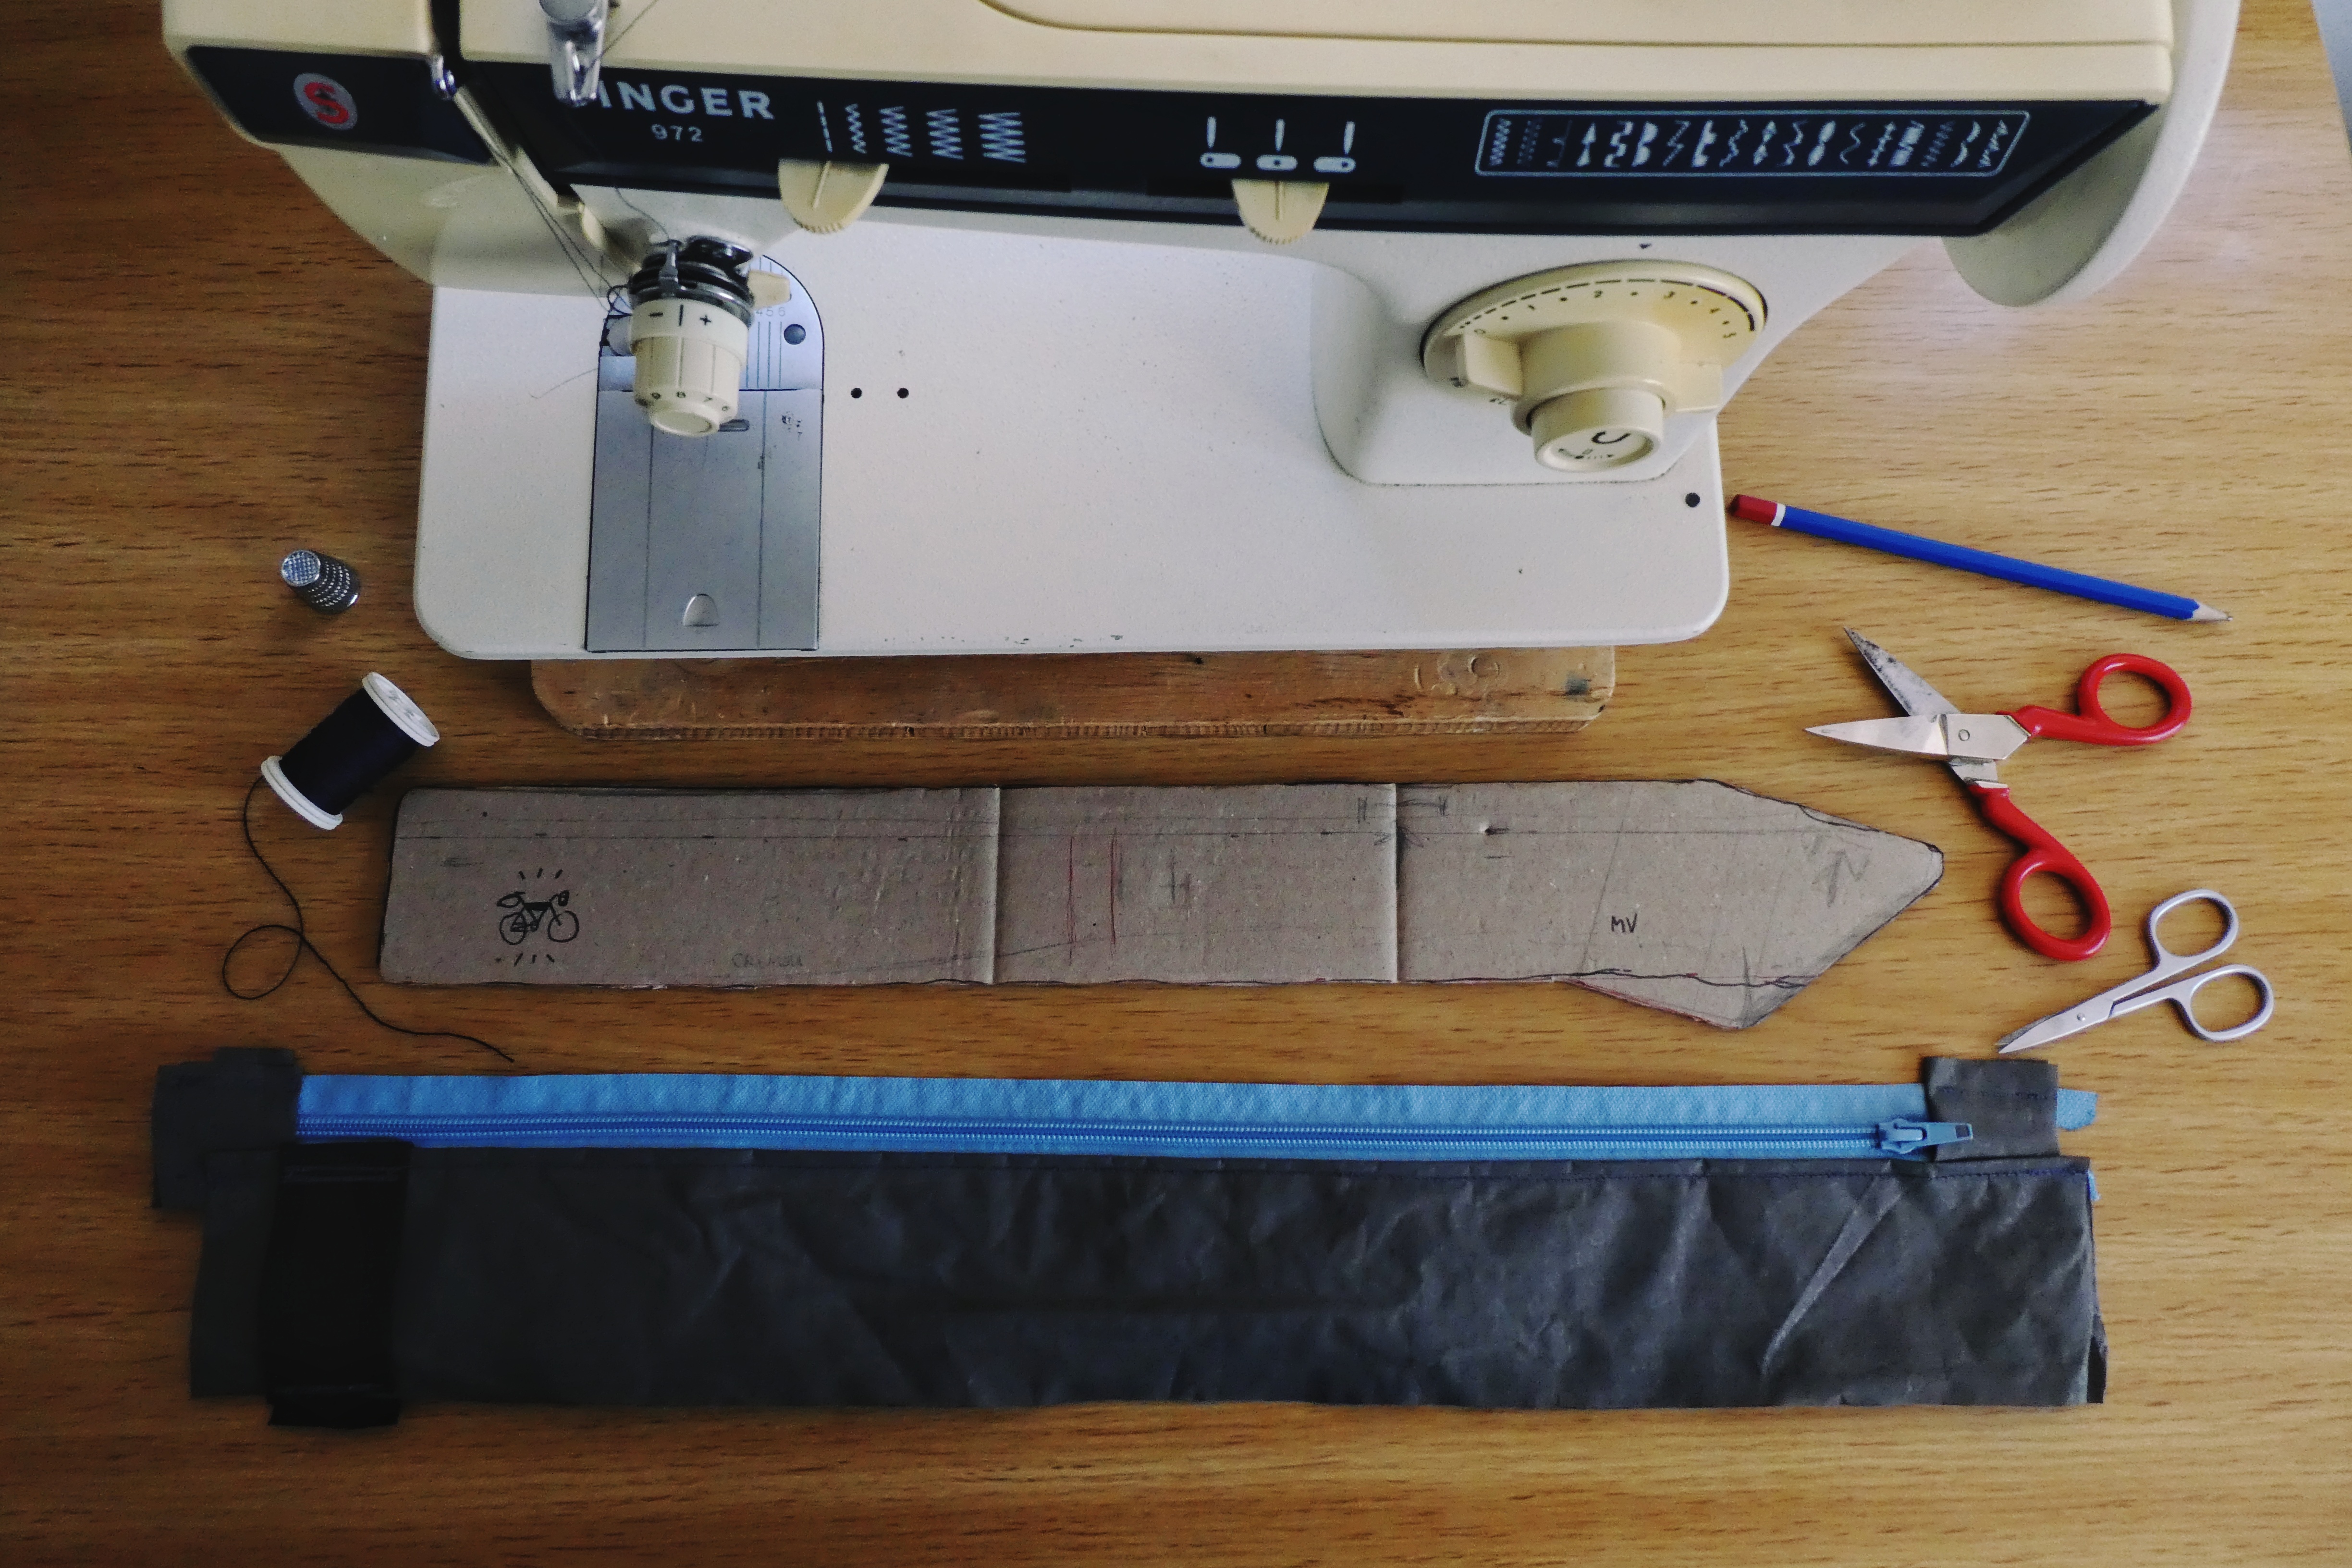
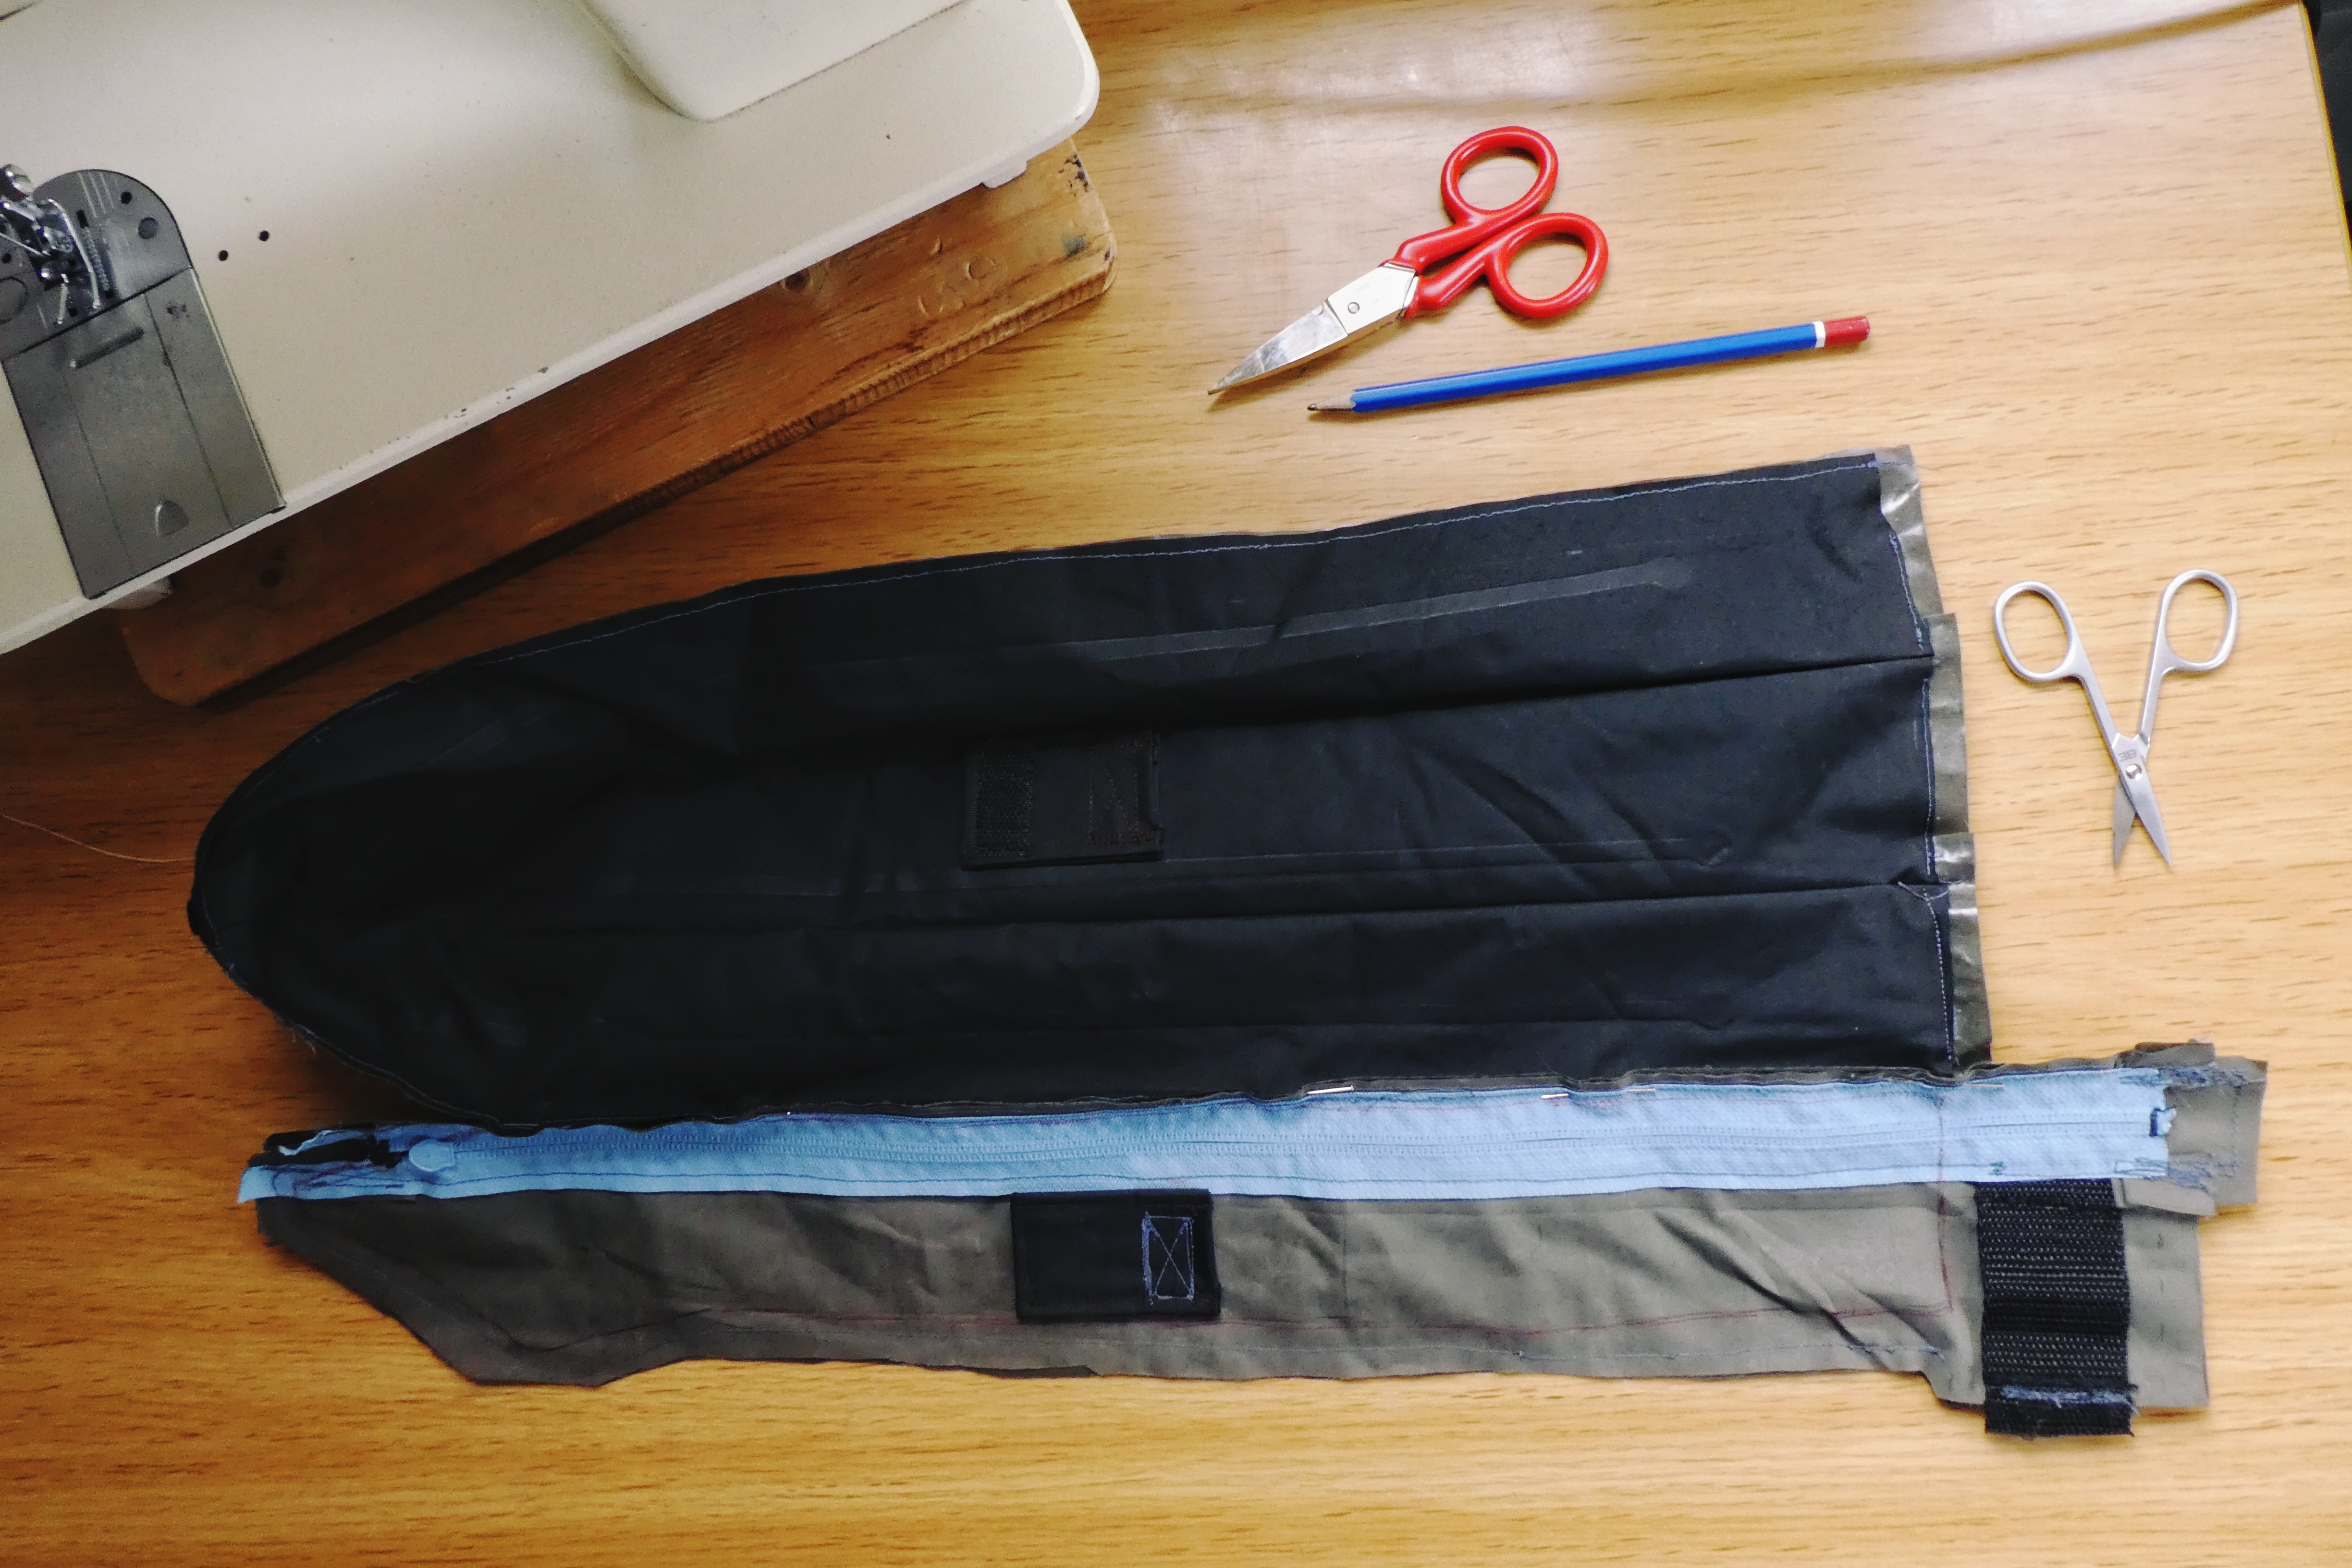
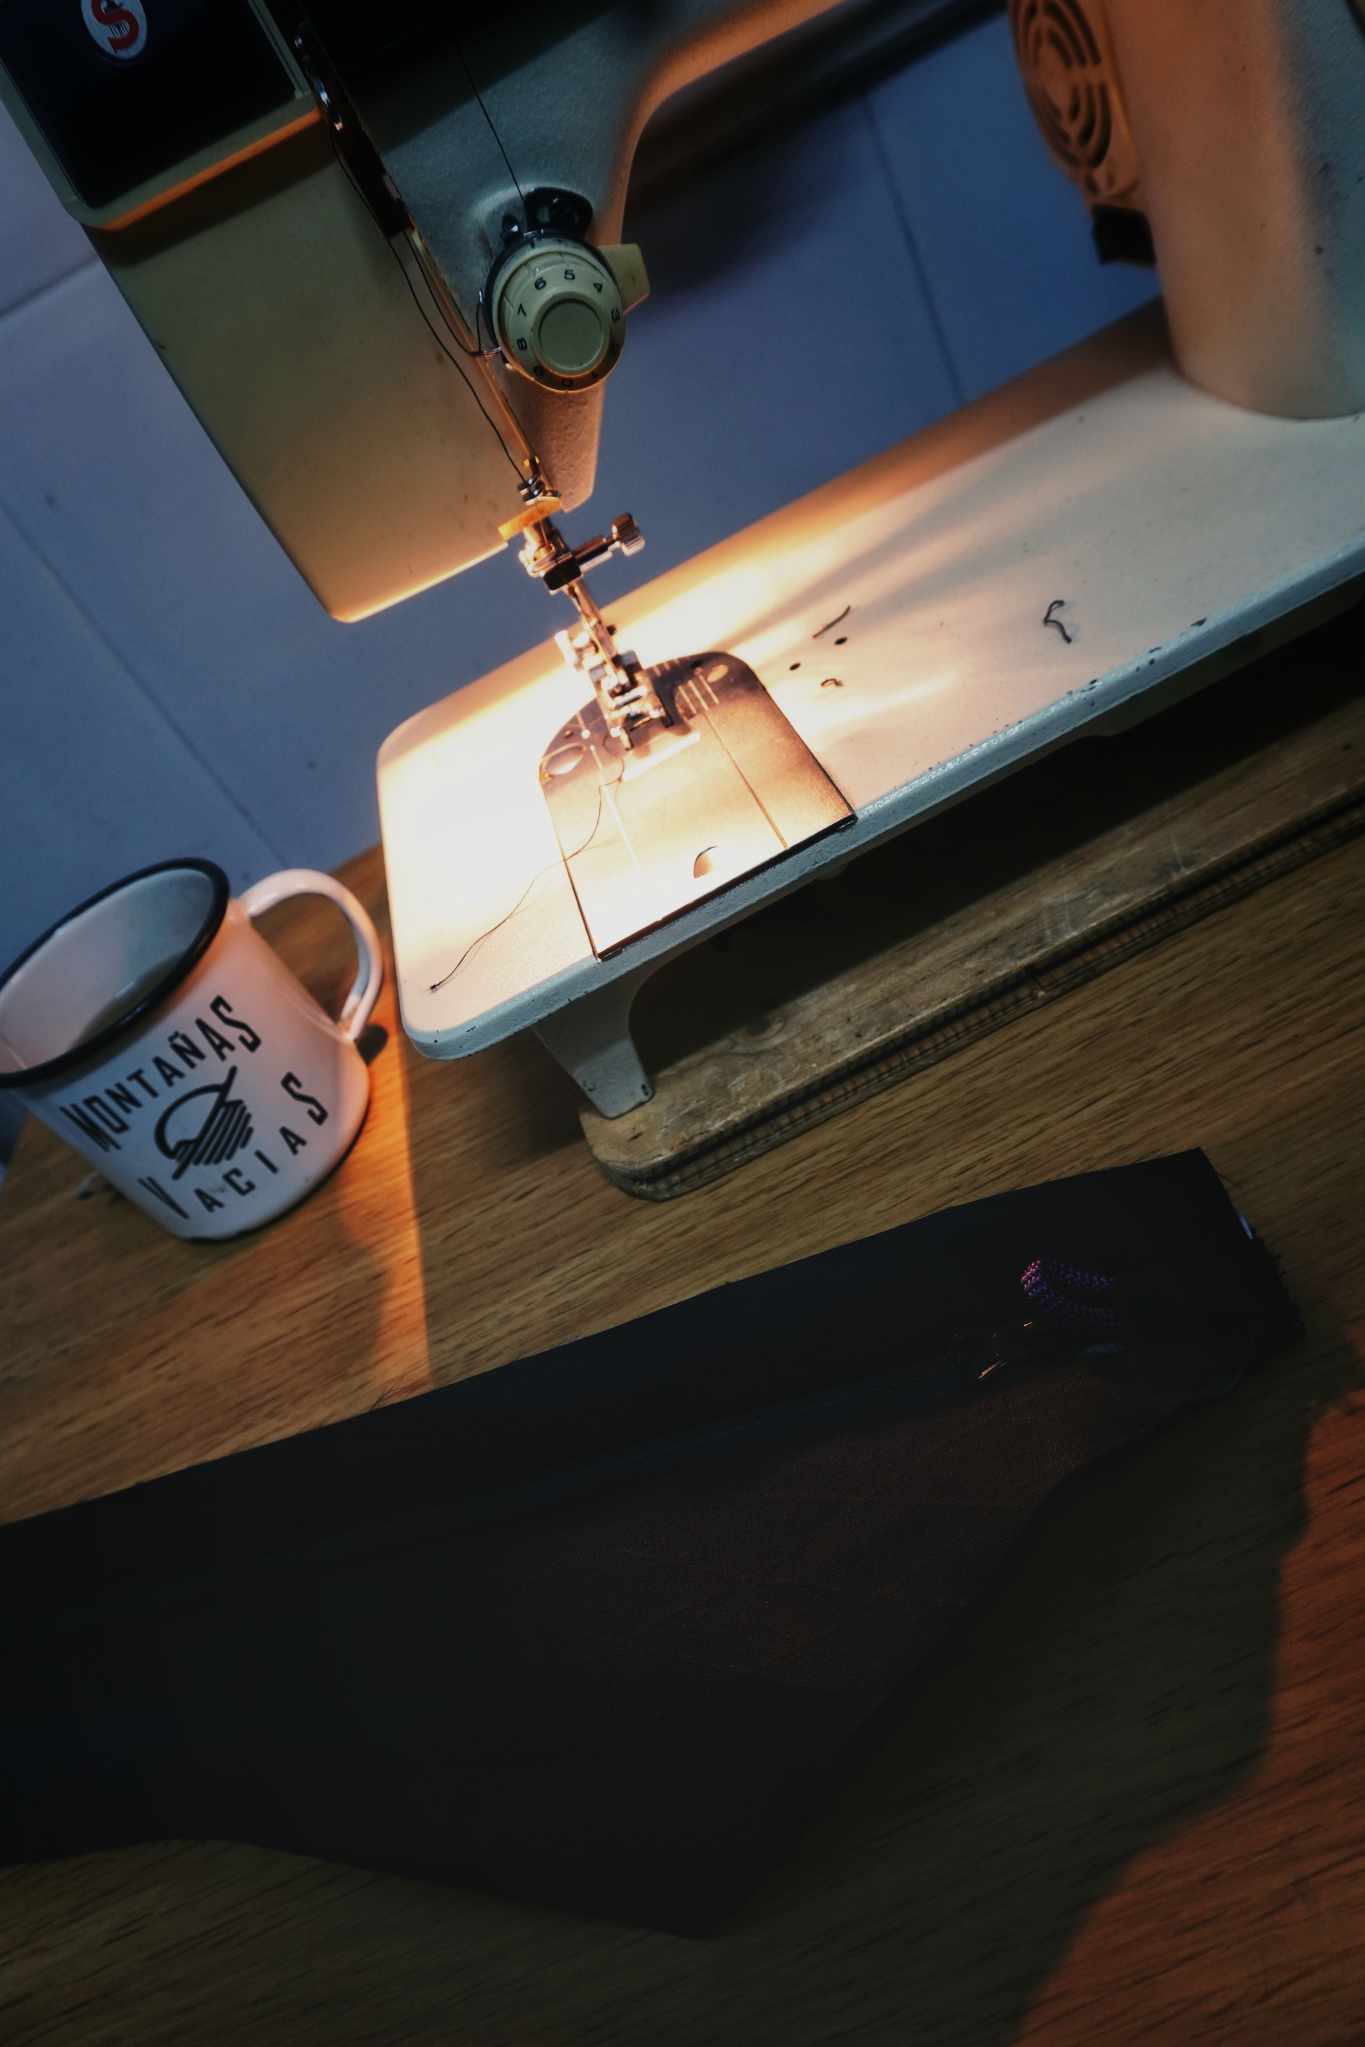
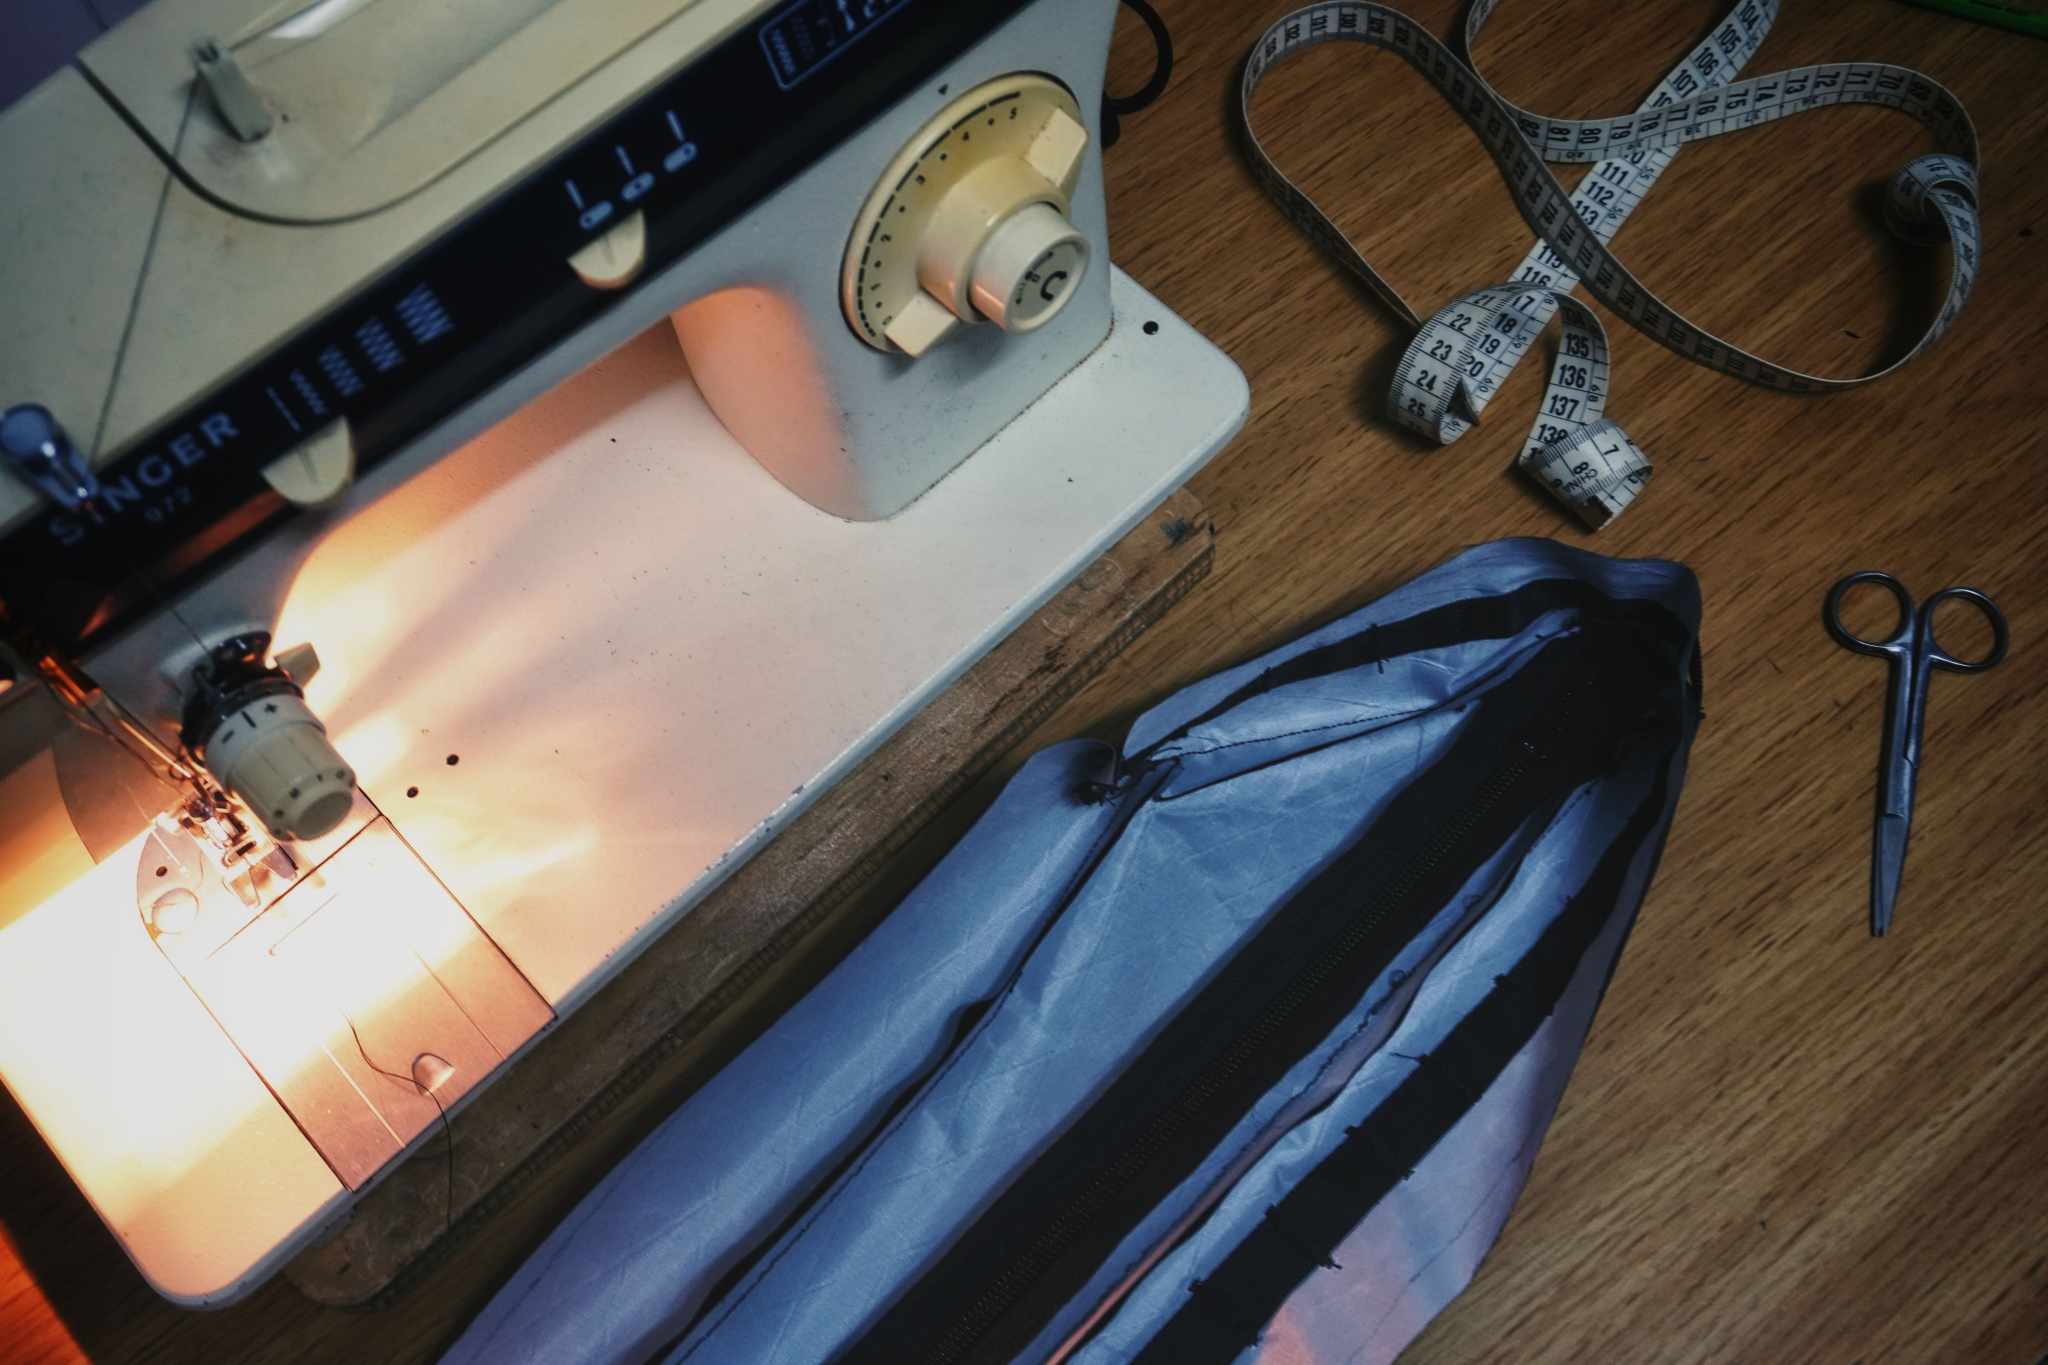
Cose la parte interior a la exterior, y finalmente, lo más delicado: Une la parte de la cremallera dando forma definitiva a la bolsa
Sew the inner and outer parts, and finally, the most delicate step: Join to the zipper part, giving the final shape to the bag
Si quieres más ideas, echa un ojo a esta entrada de Logan Watts en bikepacking.com
If you want more ideas, take a look at this post by Logan Watts in bikepacking.com

Actualización Enero 2022 – Update January 2022
Mi nueva Surly Ogre ya merecía una nueva frame bag a su medida!!
Al ser una geometría más grande ha sido suficiente con una cremallera frontal para que me entren los palos de la tienda. Aquí van algunas fotos del proceso!!
My new Surly Ogre deserved a new frame bag! having a bigger geometry it’s enough with frontal zipper to fit the tent poles. Here are some pics of the process!!


Follow me on @montanasvacias